Bosses
|
Location/s
|
How to Beat
|
Battle Talus
|
- Hyrule Field (Romani Plains)
- Tabantha Frontier Depths
- South Akkala Plains
- Windvane Meadow
|
- Shoot all the enemies on the Battle Talus using your bow and arrow.
- Try to lure Talus near the mini-tower and shoot Black Rock.
- Once you successfully hit the rock, the mini-boss will be staggered, and you can either use Ascend Ability or utilize the mini-tower and climb on the Talus.
- Hit the Black Rock with your heavy attacks.
- Rinse and repeat.
|
Black Hinox
|
|
- Keep your distance and try to dodge his ranged attacks.
- Aim and shoot its eye, and once staggered, swap to melee then use heavy attacks.
*You can set him on fire using Bomb Flower and while it’s busy trying to put out the fire, aim and shoot its eye. |
Blue Hinox
|
|
- Keep your distance and try to dodge his ranged attacks.
- Aim and shoot its eye, and once staggered, swap to melee then use heavy attacks.
|
Blue-White Frox
|
|
*Can be defeated in multiple ways depending on your resources.
- You can either shoot the Black Rocks/crystals on top of the Frox or throw Bomb Flowers.
- The Frox will try to suck and swallow you. While this animation is happening, you can throw a Bomb Flower into its mouth, and wait for it to explode inside it.
- You can aim and shoot its eye as well.
- Once staggered, use heavy attacks.
|
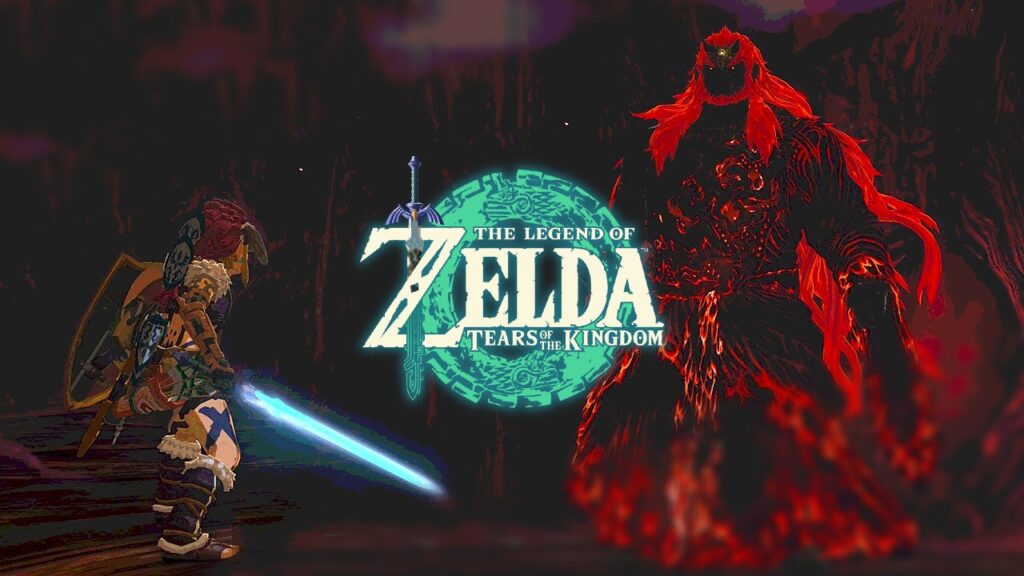
Demon King Ganondorf
|
|
Phase 1:
- Try to do a perfect dodge and use Flurry Rush until you beat him.
Phase 2:
- Focus on the main boss and try isolating him from the other forms.
- Ganondorf will try to poke you and you will again attempt a perfect dodge to trigger Flurry Rush. Do this until Ganondorf’s health decreases to about 50%.
- During this phase, Ganondorf will now be using ranged attacks, try to dodge them as much as possible.
- You will also notice that Ganondorf will most of the time parry and do a perfect dodge on your attacks. You need to be patient and focus on triggering Flurry Rush.
Phase 3:
- You will need to land on the Demon Dragon multiple times and pop the ‘zit’ (with eyes) using your sword.
- After popping 3 of these zits, you will have to fly and land on its head and destroy the glowing stone embedded on its forehead.
|
Flame Gleeok
|
- Rayne Highlands
- Eldin Canyon
|
- Start by looking for a place where you can use your paraglider. While gliding select your bow and then try and aim for its eyes. (You need to take advantage of the slow-mo feature by jumping off high structures or cliffs while using your bow)
- Once you deplete all three eyes of Flame Gleeok’s health. The dragon will be downed.
- Use Heavy attacks.
- Rinse and repeat.
|
Flux Construct I
|
- Gerudo Highlands Depths
- West Hebra Sky Archipelago
|
- Simply aim and shoot for the weak spot (glowing block).
- Once staggered, swap to melee and use heavy attacks on the same glowing block.
- Rinse and repeat.
|
Flux Construct II
|
|
- Use Ultrahand ability and aim for the core block (glowing block). Remove it from the Flux Construct II and it’ll fall apart.
- Once the Flux Construct II parts scatter, look for the glowing block, swap to melee, and use heavy attacks.
|
FIux Construct III
|
- Central Hyrule Depths
- North Akkala Sky Archipelago
|
- Use Ultrahand ability and aim for the core block (glowing block). Remove it from the Flux Construct II to dismantle it.
- Once the Flux Construct II parts scatter, look for the glowing block, swap to melee, and use heavy attacks.
|
Frost Talus
|
|
- Make sure to stack up fire elemental arrows.
- Simply aim and shoot using a fire element (ie: Red Chuchu Jelly).
- Climb on top of the mini-boss and destroy the crystal.
|
| Frost Gleeok |
|
*Your Zonai Device will be very useful here specifically the Rocket Launcher.
- Same as the other Gleeoks, while floating in the air, shoot each head twice.
- Use melee once it falls to the ground.
|
Frox
|
- Gerudo Highlands Depths
- Central Hyrule Depths
|
- Prepare your Bomb Flowers and wait for an opportunity to throw them inside the mouth of Frox.
- Once stunned, hit the Zonaite crystals. After destroying some of them, the Frox will throw you into the air.
- Use your paraglider, then fuse your arrow with Bomb Flower. Aim and shoot.
|
Hinox
|
|
- It is usually sleeping. You can try and sneak for a few attacks.
- Keep your distance, aim for its eye, and shoot. If successful, Hinox will be stunned. Swap to melee and attack.
|
Igneo Talus
|
- Eldin Eastern Highlands
- Gorko Lake
|
- Use frost arrows, aim, and shoot.
- Climb on top of Talus, and hit the crystal using a melee weapon.
|
King Gleeok
|
|
*Your Zonai Device will be very useful here specifically the Rocket Launcher.
- Same as the other Gleeoks, while floating in the air, shoot each head twice.
- Use melee once it falls to the ground.
- King Gleeok will fly and you won’t be able to reach it during the last phase of the battle. It will launch multiple attacks that will destroy the ground and create an updraft.
- Utilize these updrafts while avoiding King Gleeok’s attacks. Once you reach the three-headed dragon, aim and shoot.
- Gleeok will also shoot Glaciers, climb on top of one and use your recall ability.
|
Lynel
|
- Floating Coliseum Central Hyrule Depths
|
*This will be a long battle in the Colosseum so I suggest you bring snacks and drinks.
- Try to hit its hind legs using a spin attack once it stops running.
|
Master Kohga
|
|
Phase 1:
- Shoot Master Yohga using your bow and arrow.
- He will stop driving the vehicle and fall. Rush and use melee to attack.
- He will upgrade his ride every time he falls until he creates a fully armored vehicle. You can use your rocket launcher and shoot while in the air.
Phase 2 & 3:
- This time he will be riding a plane (he’s freaking annoying, I know). The same method applies, shoot using your bow and arrow and after his last upgrade, activate your rocket launcher.
- The 3rd phase would be while using a raft. You can try to hop onto Kohga’s raft and use your melee weapon to attack (I suggest you get rid of his minions first before doing this).
- Use recall ability once he tries throwing a bomb at you then position it on top of his raft.
Final Phase:
- The same strategy applies, hit Master Kohga in the face and he will fall.
- He will eventually throw bombs at you. Use your recall ability on the middle bomb and place it back on top of his head.
|
Molduga
|
|
- This is one tricky boss as it is submerged in the sand. Keep your distance as much as possible.
- Equip Bomb Flower on your arrow and soon as Molduga approaches you, aim and shoot.
- Rinse and repeat.
|
Obsidian Frox
|
- Gerudo Desert Depths
- Hyrule Ridge Depths
|
- Equip fire fruit on your arrow. When it opens its mouth, shoot.
- While it’s eating the fruit, use a fire arrow (attach amber, etc. on your arrow) then aim and shoot its eye.
- Swap to melee weapon, climb up the Obsidian Frox and destroy the crystals.
|
Phantom Ganon/s
|
|
*A perfect dodge will trigger Link’s, Flurry Rush – take advantage of this.
Part 1
- Exhaust his combo and then do a counterattack. You will notice the gloom below Phantom Ganon disappears while you successfully hit it.
Part 2
Phase 1:
- You will be encountering 5 Phantom Ganons in this battle. Try to focus fire and kill one at a time.
Phase 2:
- Your main target here is the one in the middle who will try to spread gloom on the entire area.
- Climb up the stairs, glide, and shoot that Phantom Ganon to remove the gloom on the floor. Make sure you kill it first.
|
Stalnox
|
- Royal Hidden Passage (Hyrule Castle Town Ruins)
|
- Use Fuse Ability on a sword and stone and destroy the pile of stones nearby.
- Expose Stainox’s head and eye. To make things easier, use Flower Bomb, aim, and shoot the Pile of stones.
- Keep your distance and aim for its eye. Keep doing this process until the Stalnox’s eye falls on the ground.
- Hit the eyeball away from Stalnox until it’s fully destroyed.
*Stalnox will recover a quarter of its health if it picks up the eyeball. |
Stone Talus
|
|
- Attach Bomb Flower on your arrow, aim, and shoot the crystal.
- Climb Talus, swap to melee, and destroy the crystal.
*If you encounter a luminous Stone Talus, I suggest you keep your distance and find a high ground or mini-tower in which you can hit it from a distance. |
Sludge Like
|
- Mipha Court, Lanayru Great Spring
|
- Apply Sidon’s buff, approach the boss, and hit it with the water attack.
- Once Sludge Like is exposed wait for it to open its mouth and use Yunobo’s charge attack.
- Rinse and repeat.
|
Thunder Gleeok
|
- Coliseum Ruins Hyrule Field
|
*Your Zonai Device will be very useful here specifically the Rocket Launcher.
- Same as the other Gleeoks, while floating in the air, shoot each head twice.
- Use melee once it falls to the ground.
|
Yunobo
|
|
- This is an easy battle, simply wait for Yunobo’s roll attack and engage.
|
The Demon King’s Army
|
|
- Utilize your Zonai devices here (like Beam, Flame, and Ice Emitters). Continue until you exhaust the health bar.
|
Temple Bosses
|
Location
|
How to Beat
|
Colgera
|
|
Phase 1:
- Patience is key!
- While you are in the air, Colgera will shoot its spikes. This will give you the opportunity to hit its weak spot.
- Use Fire Fruit and attach it to your arrow(you can use a normal arrow if you don’t have any), aim and shoot the exposed weak spot of Colgera.
- Once you successfully hit its weak spots, it’ll enter the portal and appear below you so make sure you dodge.
- Wait for yet another Spike Attack. Aim and shoot the weak spot.
Phase 2:
- Try to avoid the tornadoes as much as possible.
- After the cut scene, you will notice that Colgera’s other weak spots are hidden under the middle and bottom armor.
- Wait for the first Spike attack and shoot that weak spot FIRST before dropping down and shooting for the hidden weak spots.
|
Marbled Gohma
|
|
Phase 1:
- Avoid its legs at all costs!
- Wait for Gohma to slam its body on the ground and use Yunobo to charge on one of its legs.
- When it is stunned, rush and climb to Gohma’s body then hit its eye using a melee weapon.
Phase 2:
- Gohma will jump on top of the ceiling and will throw some time bombs. Use Yunobo to hit this barricade of time bombs and escape. You can also lift them up using your ability to escape.
- Again, use Yunobo and aim at its eye. Yunobo will roll up to the ceiling and will eventually hit Gohma. If you’re successful, the boss will fall to the ground and you can hit it via a melee weapon.
|
Moragia
|
|
*You basically need to fly for you to hit the boss’ head. To build a plane, you need 3 components: Skateboard, Wings, and Fans.
- Thankfully, this boss fight doesn’t require you to build your own plane. Simply use your Ultrahand Ability and lift the powered plane scattered in the area and place it somewhere you can take off.
- Maneuver your way to one of Moragia’s heads then use Yunobo aim and shoot all three heads.
|
Mucktorok
|
|
*Mucktorok will ride a shark in this battle and you have to hit this giant fish to unmount Mucktorok.
Phase 1:
- Get Sidon’s buff to acquire a shield and a water-elemental attack.
- Approach the shark while avoiding its beam and splash attack then poke it using your melee weapon embued with Sidon’s buff. You can also use a Splash Fruit and attach it to your arrow.
- Mucktorok will eventually be ejected from mounting the shark and will run away from you so make sure you inflict as much damage as you can.
Phase 2:
- During this phase, Mucktorok will spread sludge on the entire arena.
- We suggest you clear some of the sludge as Mucktorok will be able to utilize them and swim away from you. You can use your Zonai device – hydrant to clear the sludge.
- Try to aim for the sludge where the shark is swimming.
- While Mucktorok is in the air, shoot using your bow and arrow. Rush to the boss and use a melee weapon.
|
Seized Construct
|
|
2 Phases
Phase 1:
- Pick the Spiked Iron Ball on the corner of the arena. Shoot the Construct using your ranged attacks.
- While it’s down, approach and hit it using the ball until it flies to the electric barriers.
Phase 2:
- Use the same strategy until you defeat the boss.
|
Queen Gibdo
|
|
*Make use of Riju’s ability.
2 Encounters
1st Encounter
- Try to lure the boss on Riju’s AOE lightning attack and hit the boss using your bow and arrow.
- If you hit Queen Gibdo successfully, its body will turn white. That’s your queue to use your melee attack.
2nd Encounter
Phase 1:
- Once you found your way inside the temple, use the same strategy using Riju’s ability.
Phase 2:
- By depleting its HP to 50%, a cut scene will trigger and the boss will summon Gibdos.
- This will be quite annoying to fight the Queen Gibdos with its minions attacking you, so you have to destroy the nests first.
- Using Riju’s ability, destroy all nests before attacking the Queen.
|