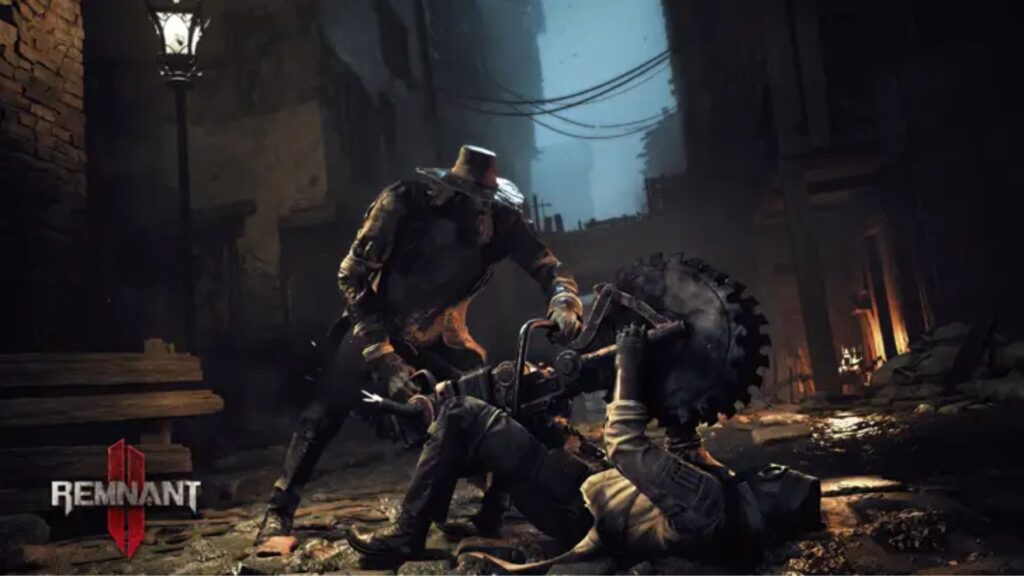
Step into the adrenaline-fueled world of Remnant 2, where action meets survival in a rich, role-playing environment. The game’s heart lies in its boss battles, each a unique test of strategy and precision. This article serves as your detailed guide, shedding light on every boss in Remnant 2 and offering tailored strategies to win over them.
Understanding Boss Mechanics in Remnant 2
It’s important to defeat bosses to win exciting trophies and achievements in Remnant 2. Moreover, every boss we encounter has a distinct set of abilities, attack patterns, and phases, adding a layer of complexity to our fights.
Furthermore, recognizing these attack cues is our first step toward victory, allowing us to anticipate and dodge incoming damage effectively. Balancing aggressive attacks with conservative stamina management can be the difference between victory and defeat.
Apart from these, different bosses may require different strategies, and having a versatile build and a diverse set of equipment can provide the flexibility needed to adapt to any situation.
Strategies to Beat All Remnant 2 Bosses

Bosses in Yaesha
Boss Name |
Location |
Description |
Strategy |
| Kaeula’s Shadow | Yaesha, Kaeula’s Rest | A root-like monster that tries to push heroes into deep water. | Aim for the red core. Use ranged weapons to keep a safe distance. |
| Legion | Yaesha, The Twisted Chantry | A bizarre boss in the form of a supposed corpse sitting on a throne and a mirror-like weapon above it. | Aim for the center of the glowing “mirror”. Keep moving to avoid shock damage. |
| Mother Mind | Yaesha, The Nameless Nest | Fights mainly with a large claw, with which it performs powerful swing attacks and can pierce heroes with it. | Dodge its claw attacks and aim for the weak points when it’s resting. |
| Root Nexus | Yaesha, The Forbidden Grove | A tree-sized root with a lava core that uses protective measures and summons servants. | Aim for the “Lava” core. Deal with the summoned servants quickly. |
| Shrewd | Yaesha, The Expanding Glade | A dark monk’s robe, partially red glowing bow, and teleportation abilities. | Aim for the head. Keep moving to avoid its teleportation attacks. |
| Corrupted Ravager | Yaesha, Ravager’s Lair | Recurring enemy from the predecessor, but much more powerful in his new role as a boss. | Use high-damage weapons to break its armor. Dodge its attacks and aim for the weak points. |
| Corruptor | Yaesha, The Great Bole | A squid-like floating monster that fights with the help of large hybrids of existing enemies. | Aim for the red core. Deal with the summoned hybrids quickly. |
Bosses in Losomn
| Bloat King | Losomn, The Great Sewers | Arachnoid stuck under a vaulted ceiling, which fires with energy spheres. | Dodge its energy spheres and aim for the pulsating body. |
| Gwendil, The Unburnt | Losomn, Cotton’s Kiln | Looks like Nosferatu, but is a true firestarter. | Keep a safe distance and dodge its firebombs. |
| Magister Dullain | Losomn, Shattered Gallery | The icy monster seems to fight with the contents of his stomach and has visually impressive magic tricks. | Aim for the head and chest. Dodge its magic attacks. |
| The Huntress | Losomn, Brocwithe Quarter | A mounted Huntress that chases heroes through an area of stone ruins. | Aim for the neck and head of the mount. Keep moving to avoid its spear attacks. |
| The Red Prince | Losomn, Gilded Chambers | A fiery variant of the Golden Knight of the Fae. | Use water-based attacks to deal extra damage. |
| Nightweaver | Losomn, The Tormented Asylum | A spectral being and embodiment of the Fae Goddess of Sleep. | Aim for the glowing core. Dodge its immobilizing attacks. |
| Faelin | Losomn, Beatific Gallery | An extremely powerful human mage with levitation and teleportation abilities. | Keep moving to avoid its magic attacks. Aim for the weak points when it’s resting. |
| Faerin | Losomn, Malefic Gallery | An extremely powerful human mage with levitation and teleportation abilities. | Keep moving to avoid its magic attacks. Aim for the weak points when it’s resting. |
Bosses in N’Erud
| Abomination | N’Erud, The Putrid Domain | Giant version of the Corpse Ball with extra HP. | Aim for the bombs under the armor. Keep moving to avoid its attacks. |
| E.D. Alpha | N’Erud, Tower of the Unseen | More resistant, stronger version of the elite E.D. Alpha. | Aim for the eye. Keep moving to avoid its energy beams. |
| Fetid Corpse | N’Erud, Void Vessel Facility | The Fetid Corpse is just a stronger N’Erud Zombie. | Aim for the head. Keep moving to avoid its attacks. |
| Primogenitor | N’Erud, The Hatchery | An insectoid boss with octopus-like tentacles and hovering ability. | Aim for the eyes. Deal with the hatching young quickly. |
| The Astropath | N’Erud, Astropath’s Respite | A boss variant of Specter with the ability to transform into an energy sphere. | Aim for the weak points when it’s in energy sphere form. |
| The Custodian’s Eye | N’Erud | An XXL edition of the Sentinel, but slower and much more attacking. | Aim for the eye. Keep moving to avoid its attacks. |
| Tal’ratha | N’Erud, The Tormented Asylum, Forgotten Prison | Extremely massive, meter-high toad creature with a bright mask for a face. | Aim for the mouth. Keep moving to avoid its long-range attacks. |
| Sha’Hala | N’Erud, Sentinel Keep | Spectral, demon-like creature that fights primarily with likewise spectral spheres and projectiles. | Aim for the sphere between its hands. Keep moving to avoid its projectiles. |
Other Bosses
| Labyrinth Sentinel | The Labyrinth | Around “rolling” large cube with destructible white cubes on the sides. | Aim for the white cubes. Keep moving to avoid its attacks. |
| Bastion | The Labyrinth | A “four-legged” stone golem with a kind of energy core instead of a head. | Aim for the glowing core. Keep moving to avoid its fast attacks. |
| Cancer | Root Earth, Ashen Wasteland | Powerful root creature, visually reminiscent of the Infectors, but far more sturdy. | Aim for the red core. Keep moving to avoid its ember attacks. |
| Venom | Root Earth, Corrupted Harbor | Another armored Root boss capable of levitation. | Aim for the red core. Keep moving to avoid its fire-based attacks. |
| Annihilation | Root Earth, Blackened Citadel | Dragon-like, skeletal creature and literally the root of all evil. | Aim for the head. Keep moving to avoid its AoE and magical attacks. |
Conclusion
Understanding the mechanics and strategies for each of the Remnant 2 bosses can help one to get more trophies and achievements. Don’t shy away from experimenting with different tactics to find what works best for you. Overcoming these challenges is part of the journey. Good luck with your battles in Remnant 2!
For more content, stay with us here at Spiel Times. Make sure you subscribe to our push notifications and never miss an update. You can also follow us on Spiel Anime, Twitter, Instagram, and YouTube. Until next time!