Have you ever missed important conversations or responded too late? Well, we’ve all been there. But worry not, we’ll walk you through how to schedule messages on your iPhone in this article.
Schedule Text Messages on iPhone Guide
Download and Open Shortcuts
Make sure you have the Shortcuts app downloaded and installed on your iPhone first. iOS 15 devices already have this app installed, however, older iPhones running iOS 12 may get it through the App Store.
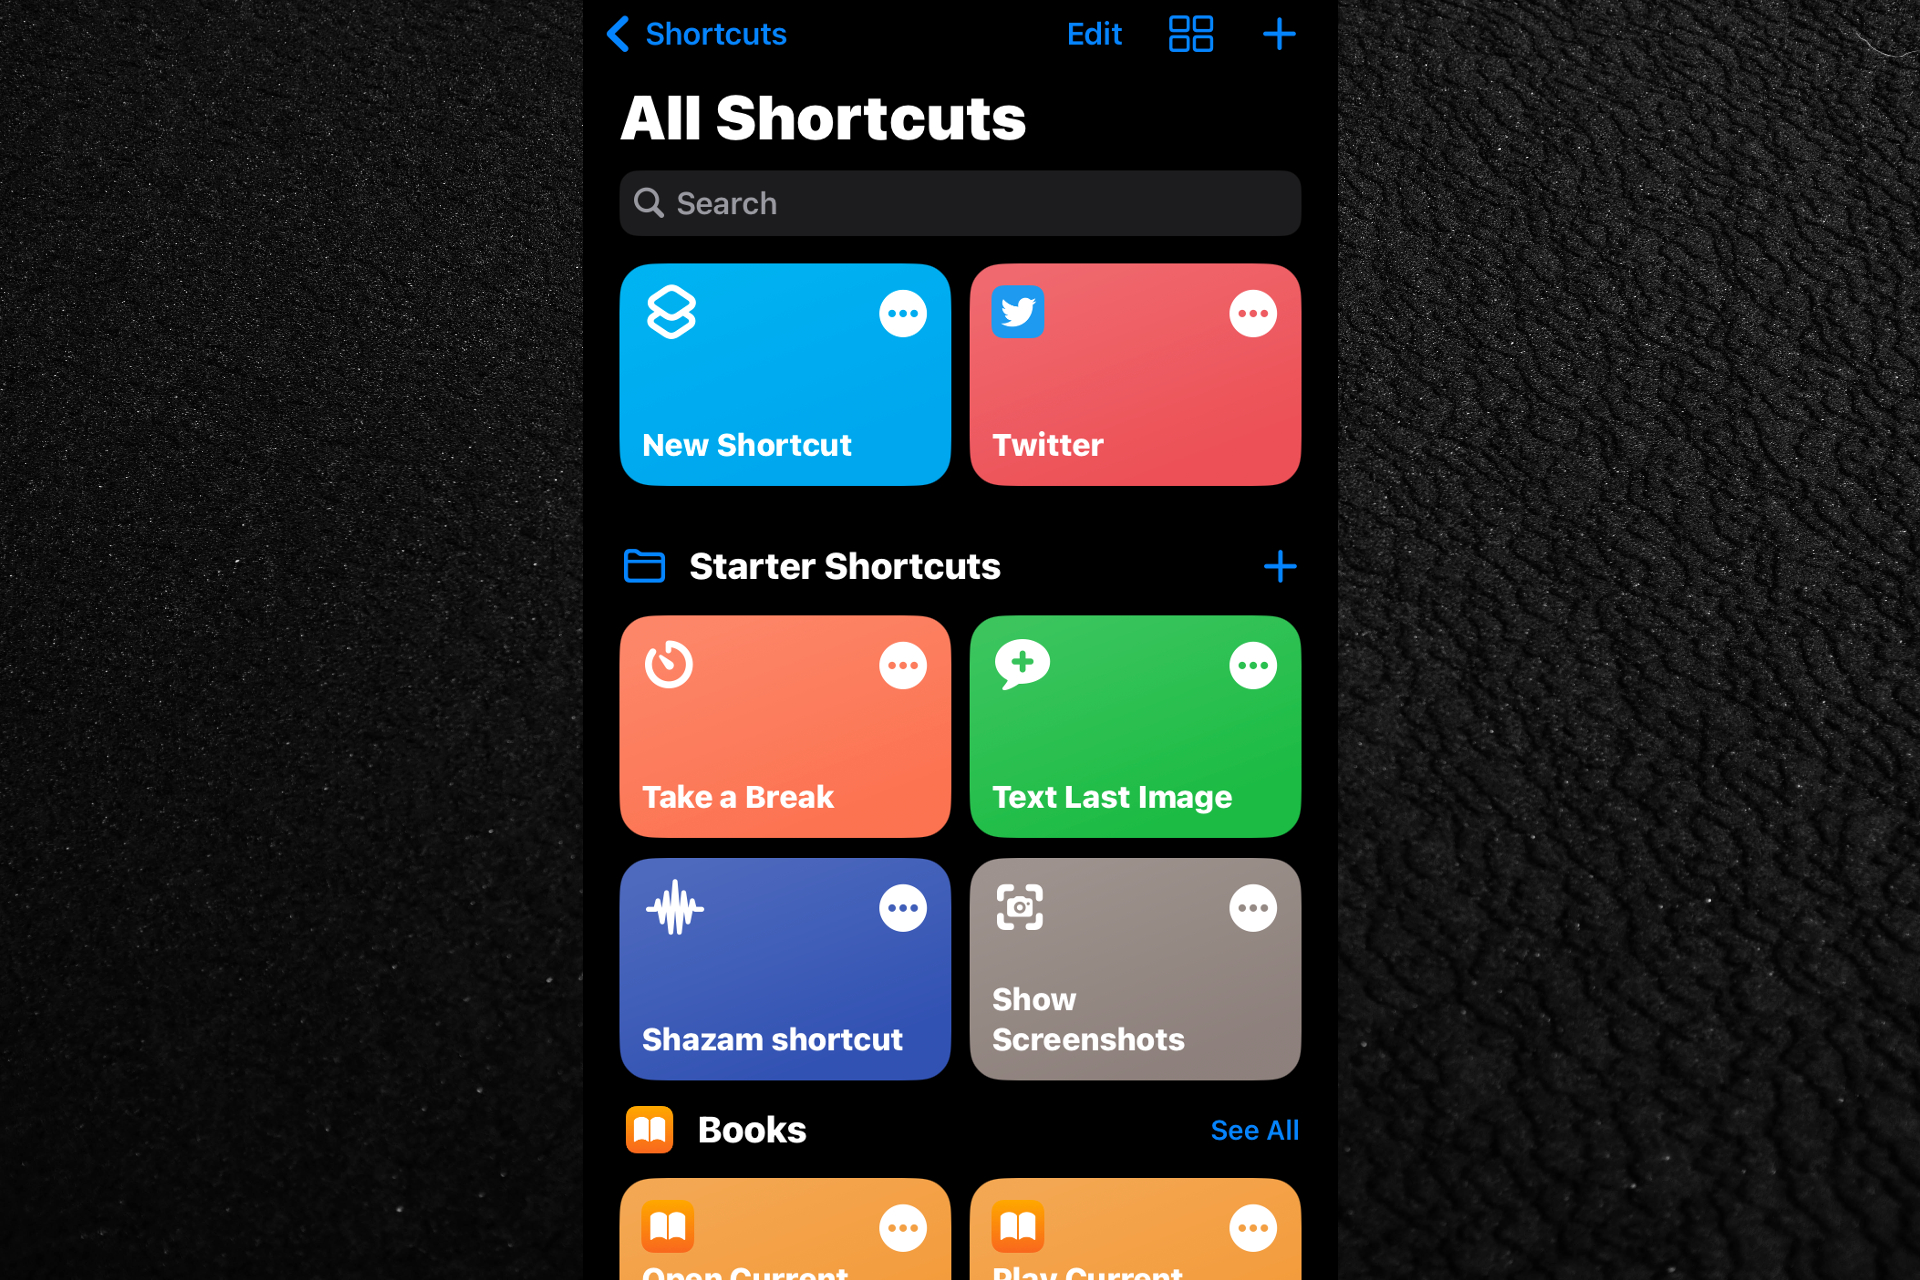
- The Menu may be accessed by scrolling to the very bottom of the screen.
- You may schedule iPhone texts in advance by selecting “Automation” from the iPhone’s main menu.
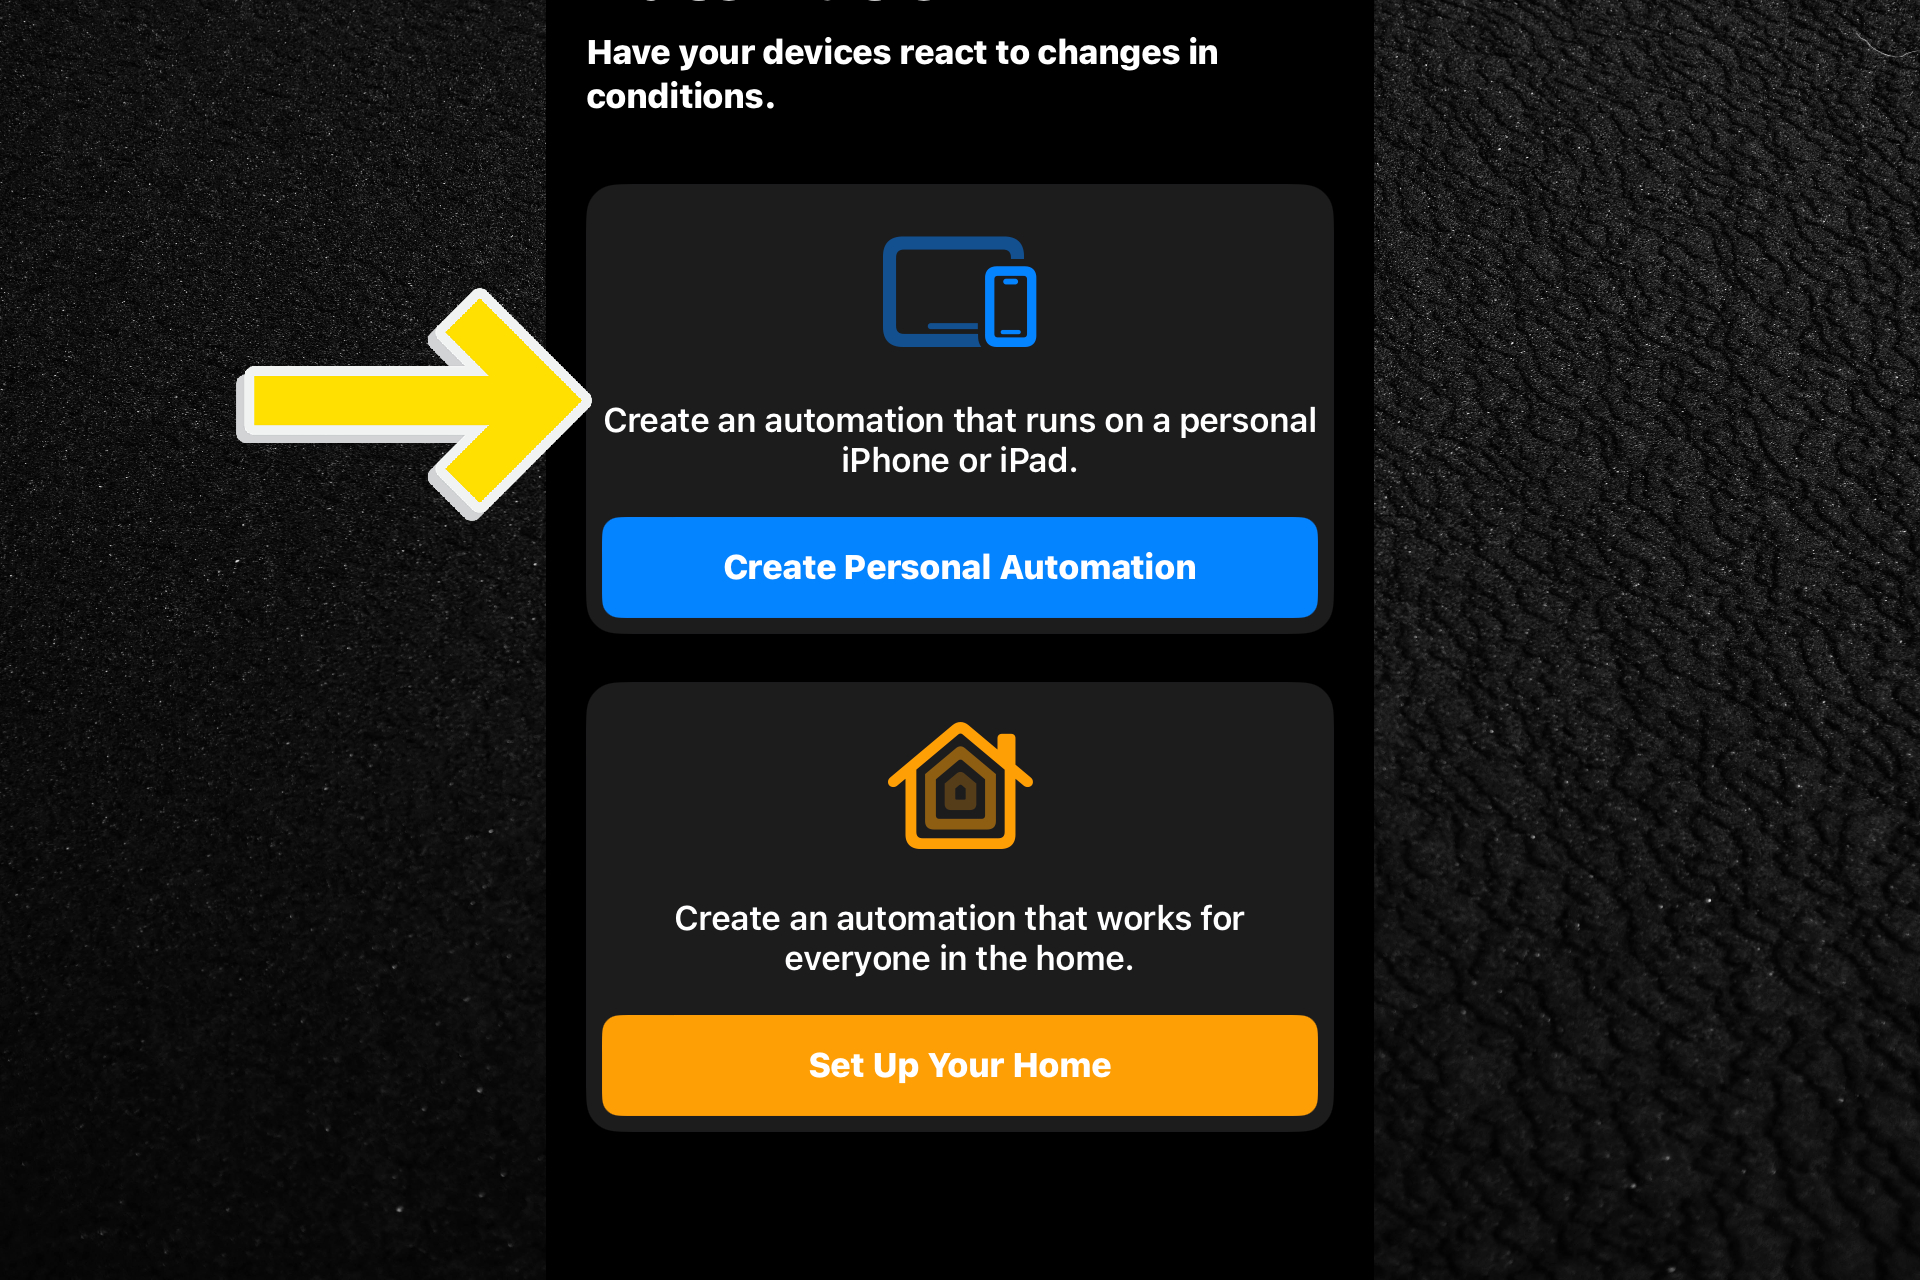
Create Personal Automation
- Tap on “Create Personal Automation” to begin setting up your scheduled text message.
- You will be presented with several options for automation triggers.
- To send your text at a certain time, choose the “Time of Day” option.
Customize Time and Frequency
- Select “Time of Day” and enter the hour and minute at which you’d like your scheduled text message to be sent.
- Next, select how often you’d like to send the text message by clicking either “Daily,” “Weekly,” or “Monthly.”

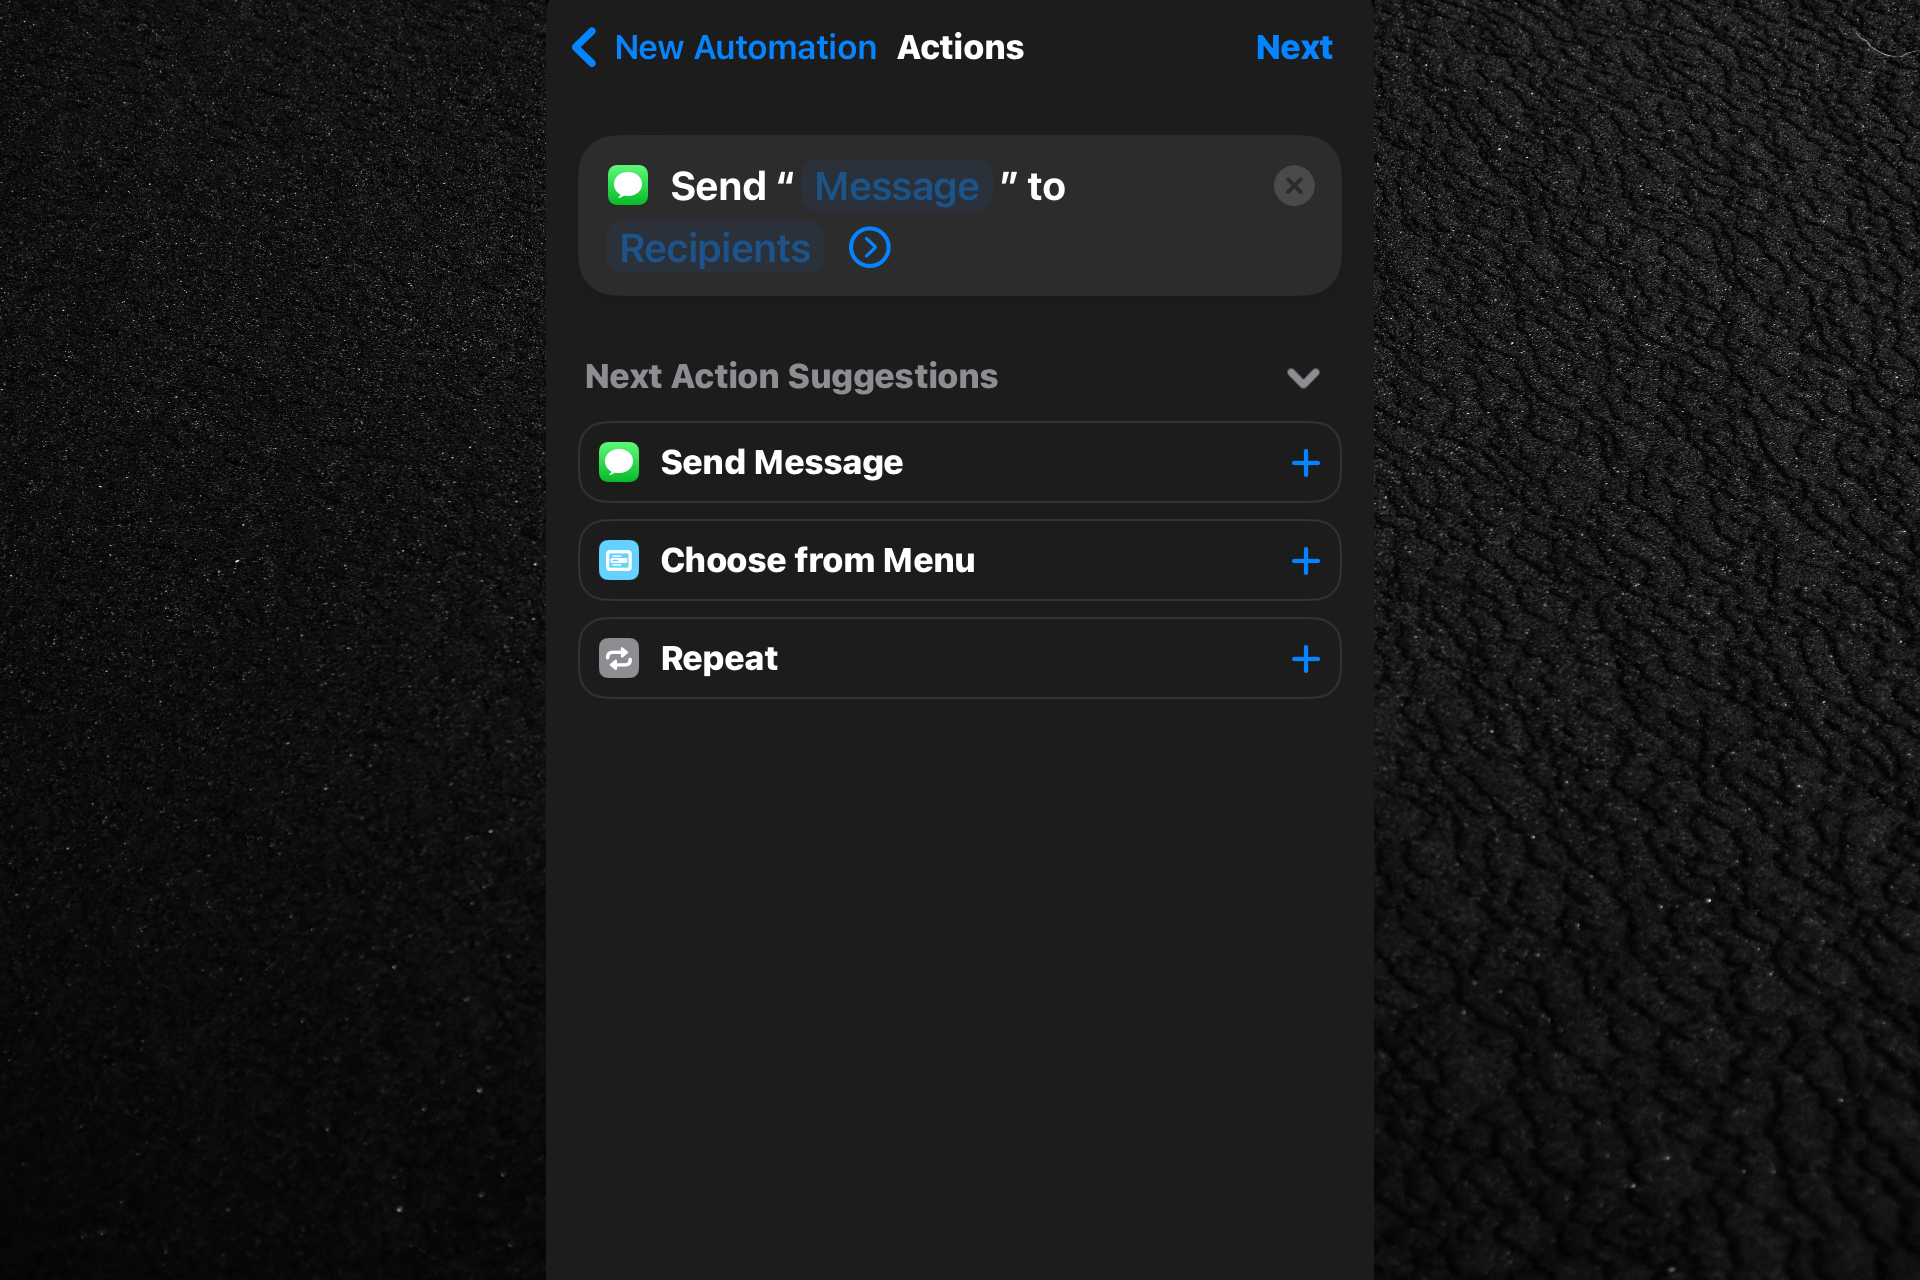
Add the Send Message Action
- Once you’ve set the time and frequency to your preference, click “Next.”
- Add “Send Message” to your automation by tapping the “+” button next to it.
Message and Recipient
- Now it’s time to write your message in the “Message” box.
- Then, tap “Recipients” and add the individuals to whom you want to send it by selecting them from your contacts or manually entering their numbers.
- To add numerous contacts at once and send them the same message, touch the “+” button next to the desired contacts.
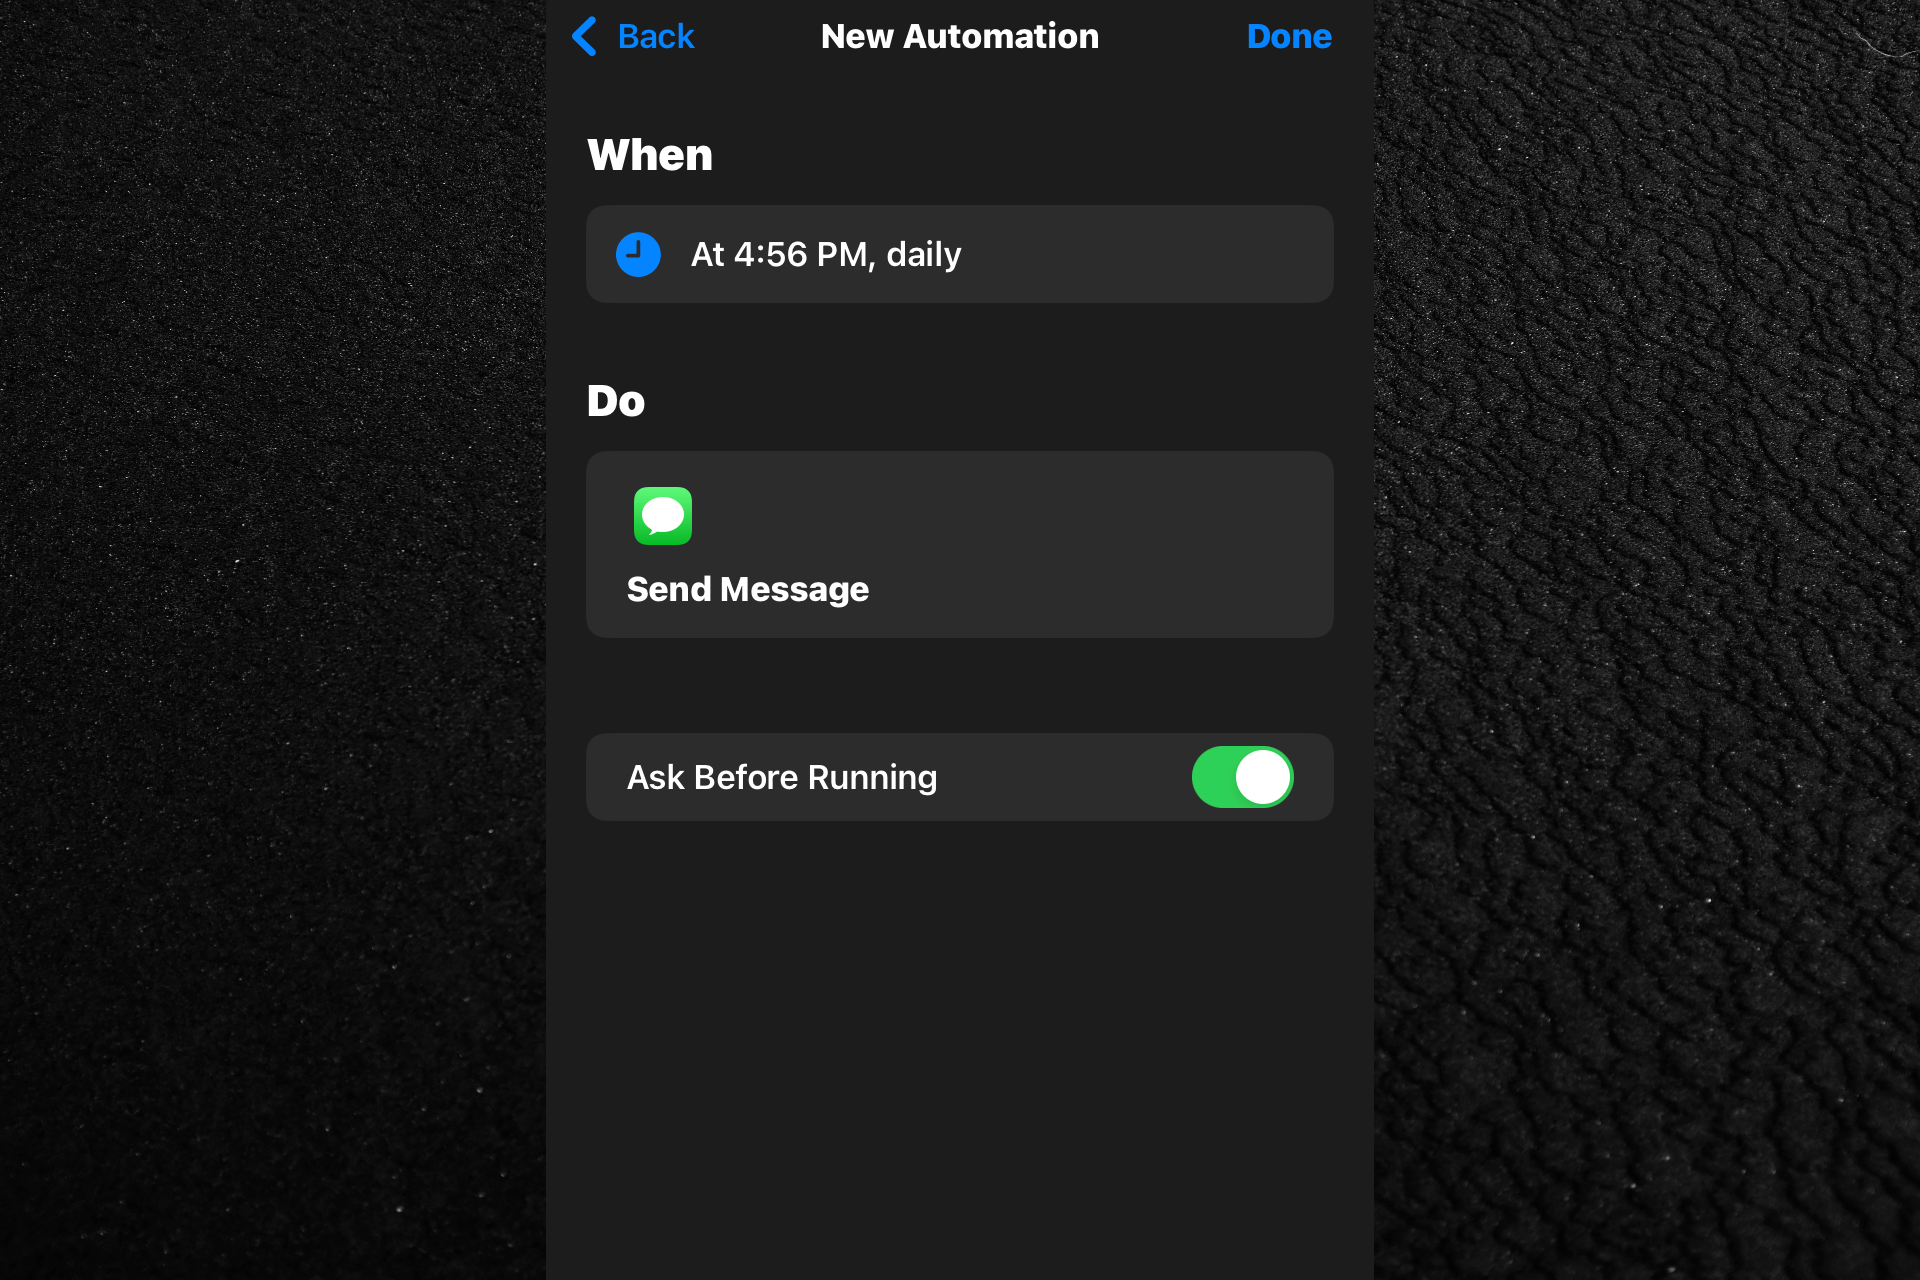
Review and Save the Automation
- Tap “Next” to review your scheduled text message automation. Make sure the “Ask Before Running” toggle is off if you want the scheduled SMS to be sent immediately.
- To be alerted after each scheduled iPhone message is sent, toggle the “Notify When Run” switch on. Then, when you’re finished, select “Done” to store your new automation.
Deleting an Automation (Optional)
You may also quickly remove a scheduled iPhone message if you no longer need it.
- To remove an automation, launch the Shortcuts app, navigate to the “Automation” menu, and swipe left.
- Tap “Delete” to remove the automation.
For more content, stay with us, here at Spiel Times. Make sure you subscribe to our push notifications and never miss an update. You can also follow us on Twitter, Instagram, and YouTube. Until next time!