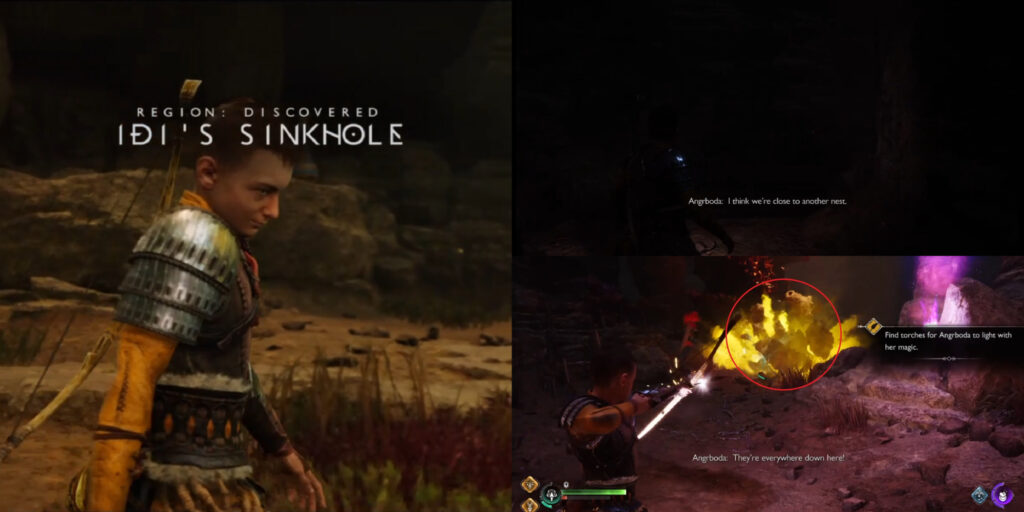
Before arriving in this area, you may have already encountered Wretch Nests in God of War: Ragnarok. As you progress further into the story, Atreus needs to help a fellow Giant clear out these Nests in an underground area. In case you need some help in finding all Wretch Nests in Idi’s Sinkhole in God of War: Ragnarok, here’s a guide for you.
In this part of the main quest, Atreus is joined by Angrboda as he explores Ironwood. So, to briefly introduce where Atreus is, Ironwood is a place where the Giants used to inhabit. Although the Giants have been nearing extinction, so the place could be quite deserted already. In order to collect the paint materials that Angrboda needs, you have to destroy all the Wretch Nests. Keep reading to know where to find the four Wretch Nests you need to destroy down in Idi’s Sinkhole.
Wretch Nests to find in Idi’s Sinkhole
There are four nests or dens you need to find once you reach this part of the main questline. Naturally, Wretches will keep on spawning from their nests. Unless you destroy the Wretch Nests, they’ll just keep coming. Make sure you focus on destroying the nests and have Angrboda take care of any Wretch trying to attack you.

- Angrboda will invite Atreus to go down into the sinkhole with her. This is part of the main story quest in God of War: Ragnarok so you have no choice but to accompany her. According to Angrboda, she can only retrieve materials she uses to paint in Idi’s Sinkhole
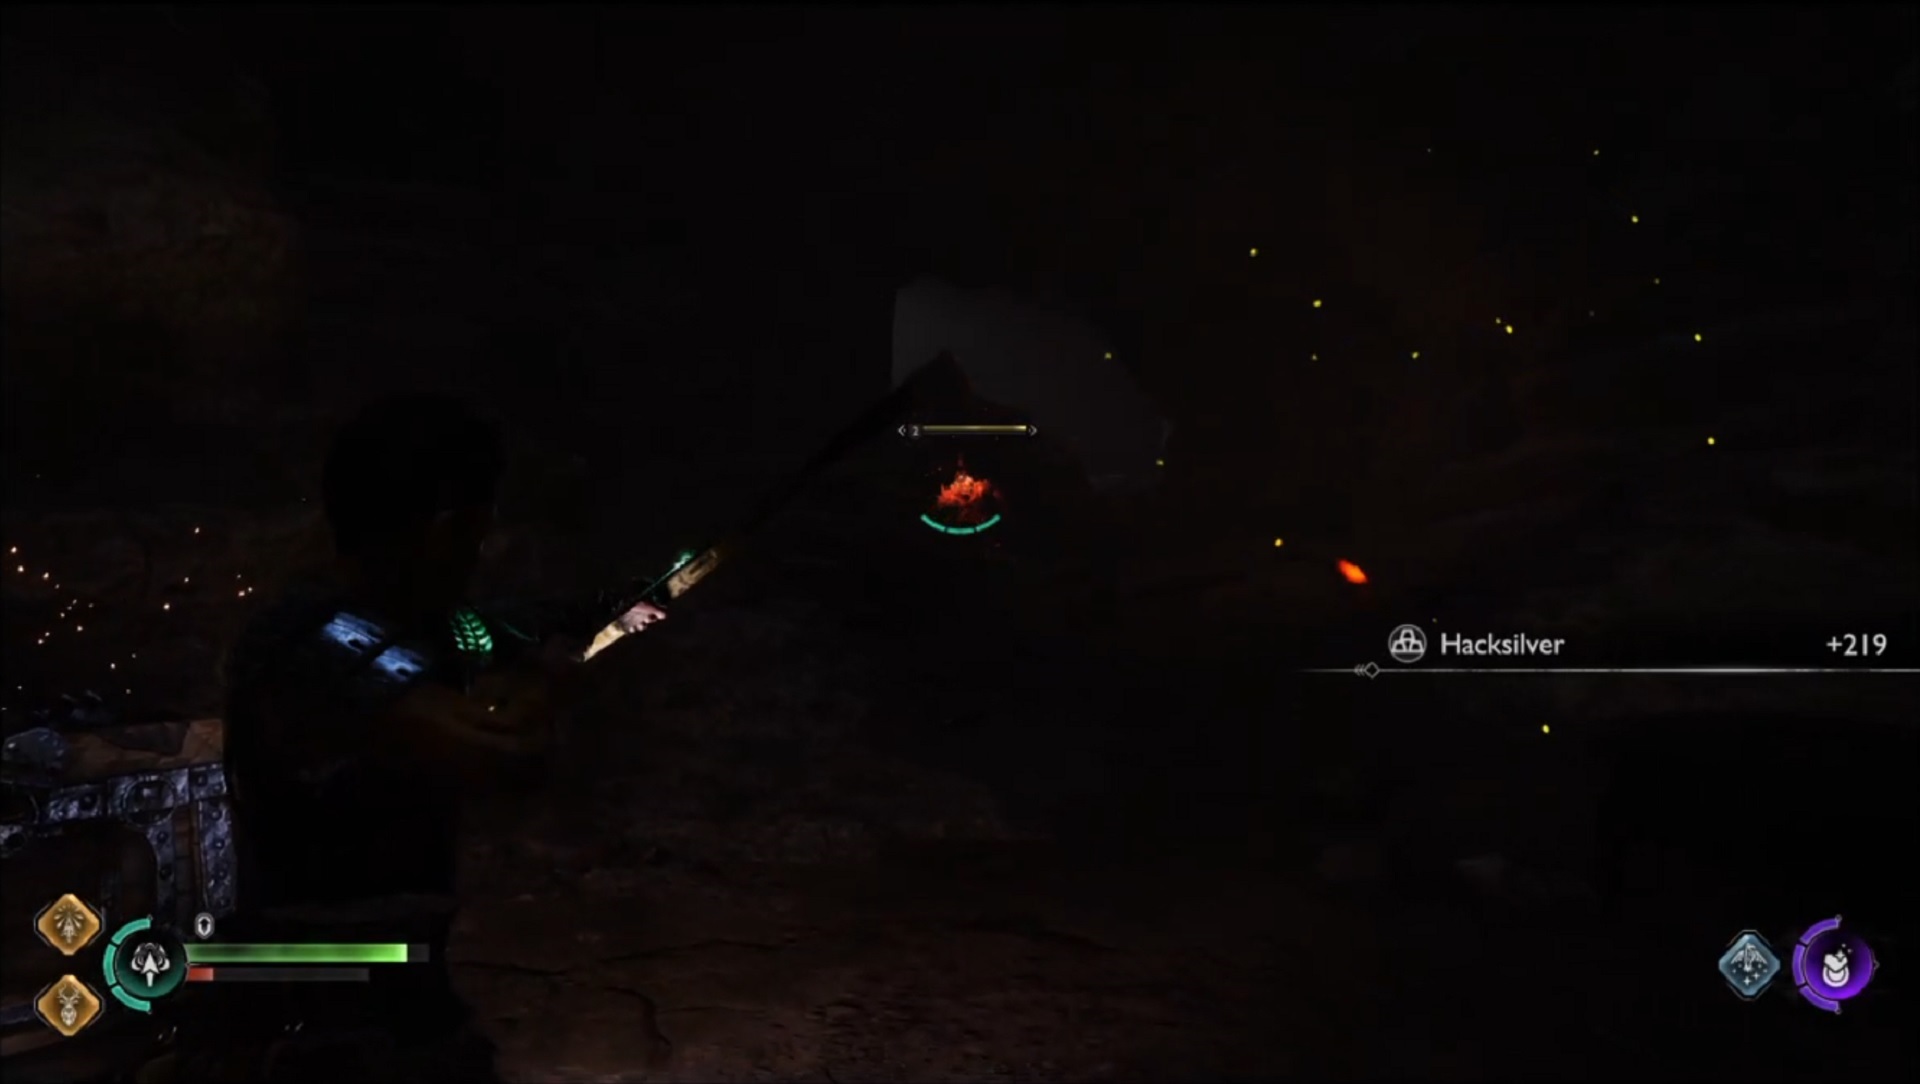
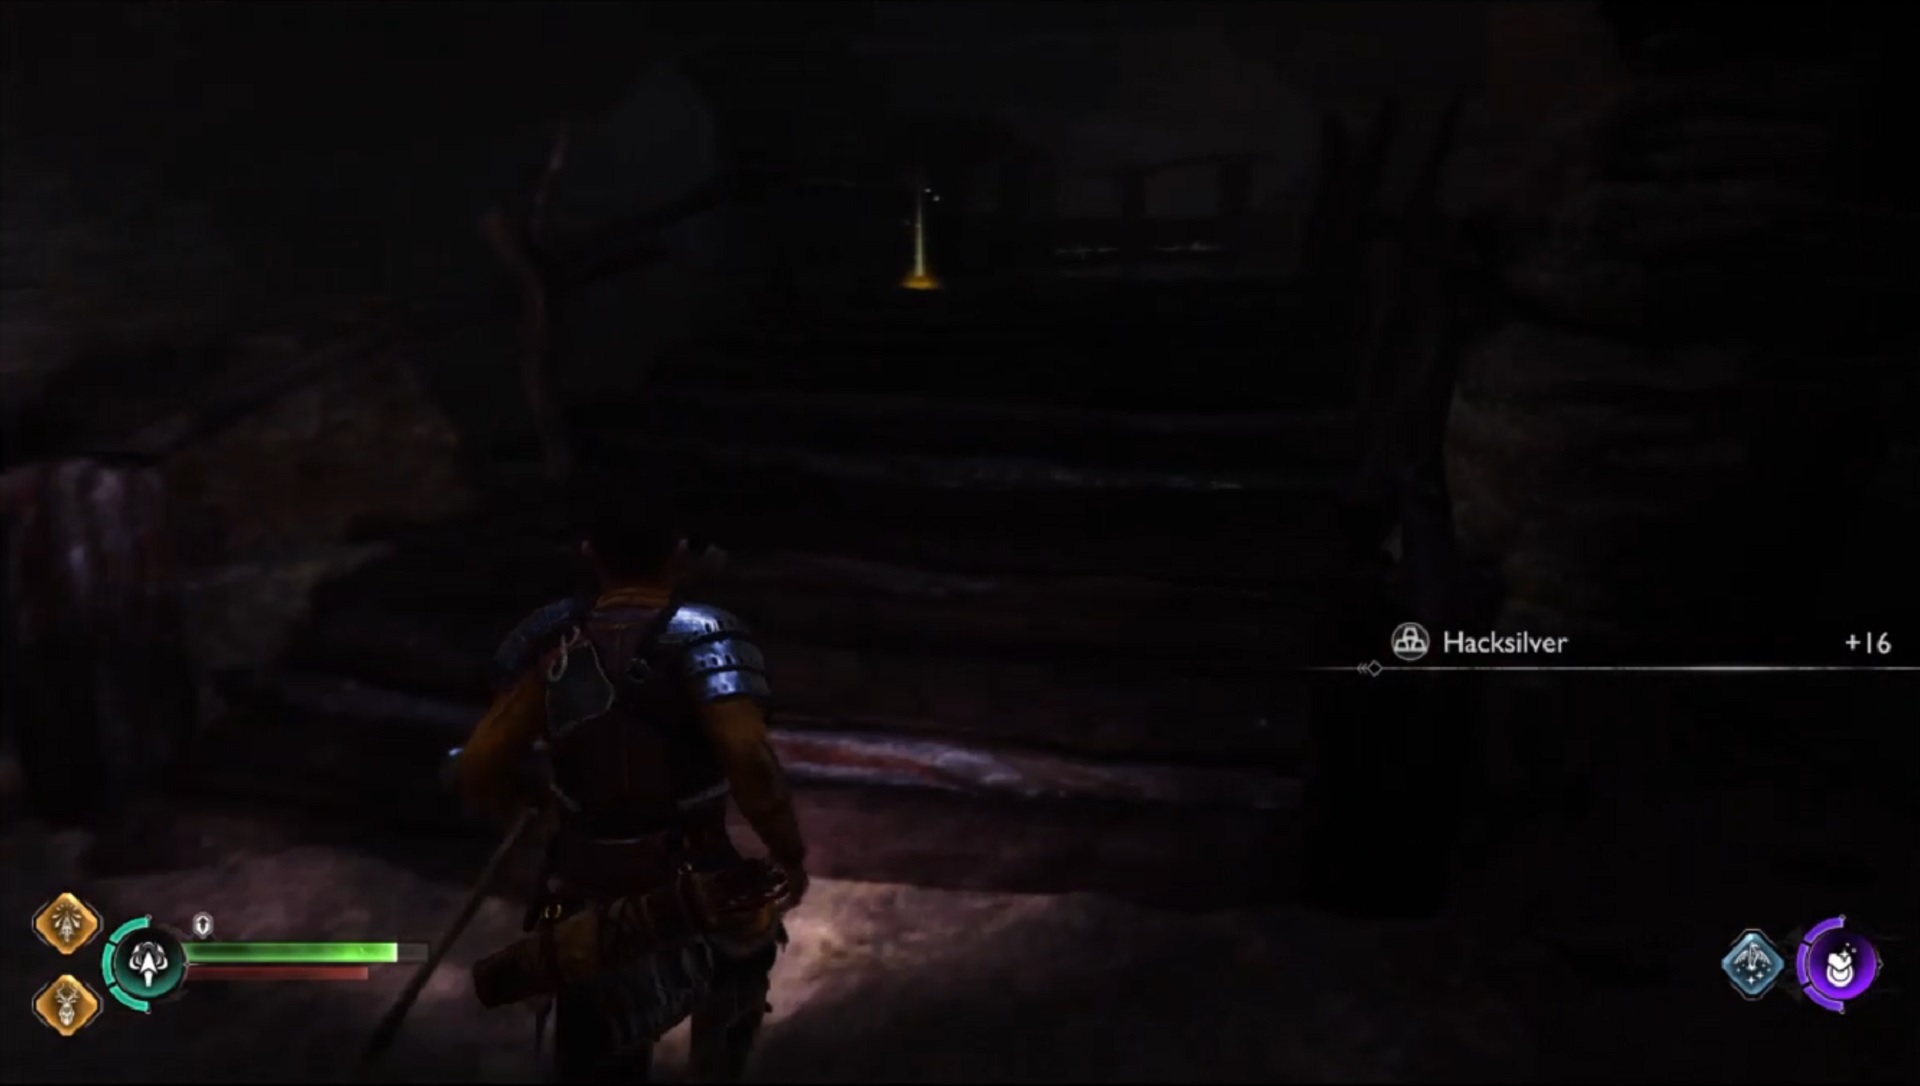
- Before traveling further into the sinkhole, make sure to break any vases you see in the area. Every Hacksilver counts!
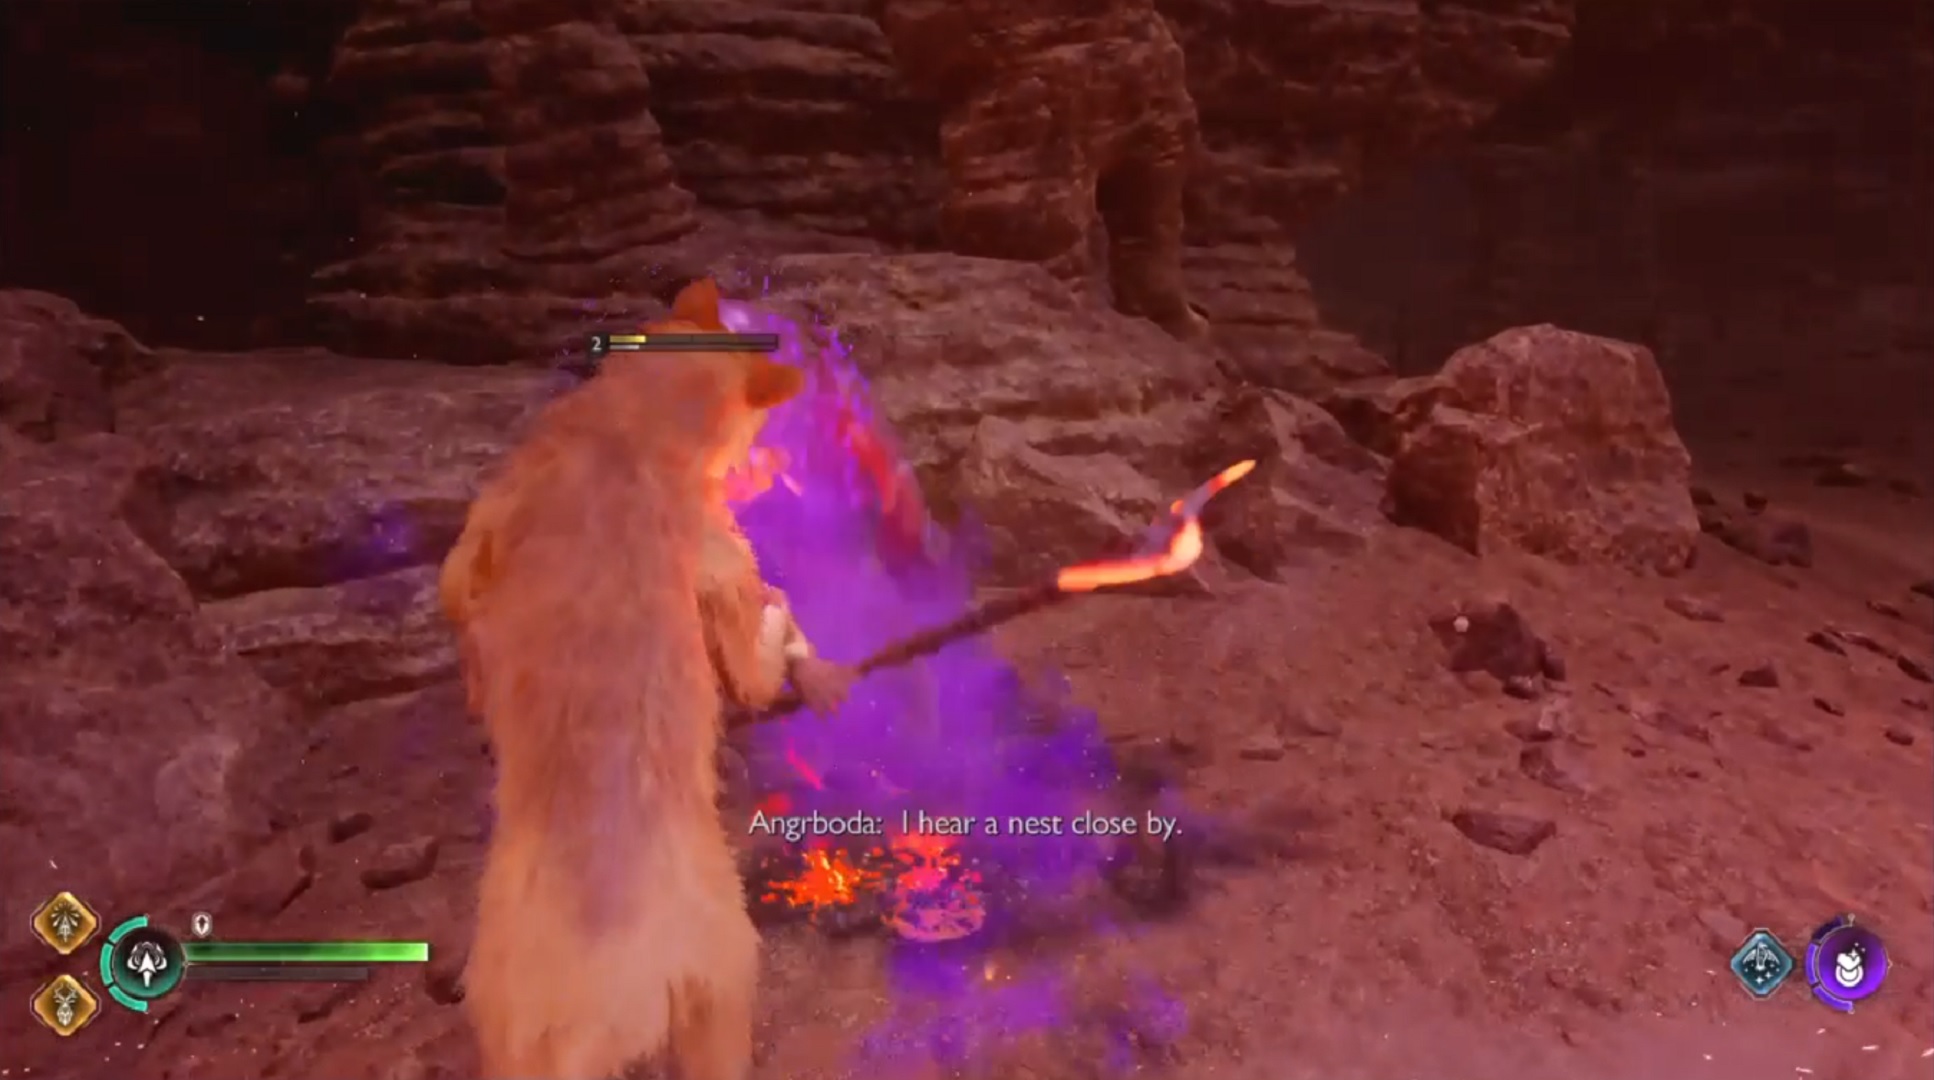
First location
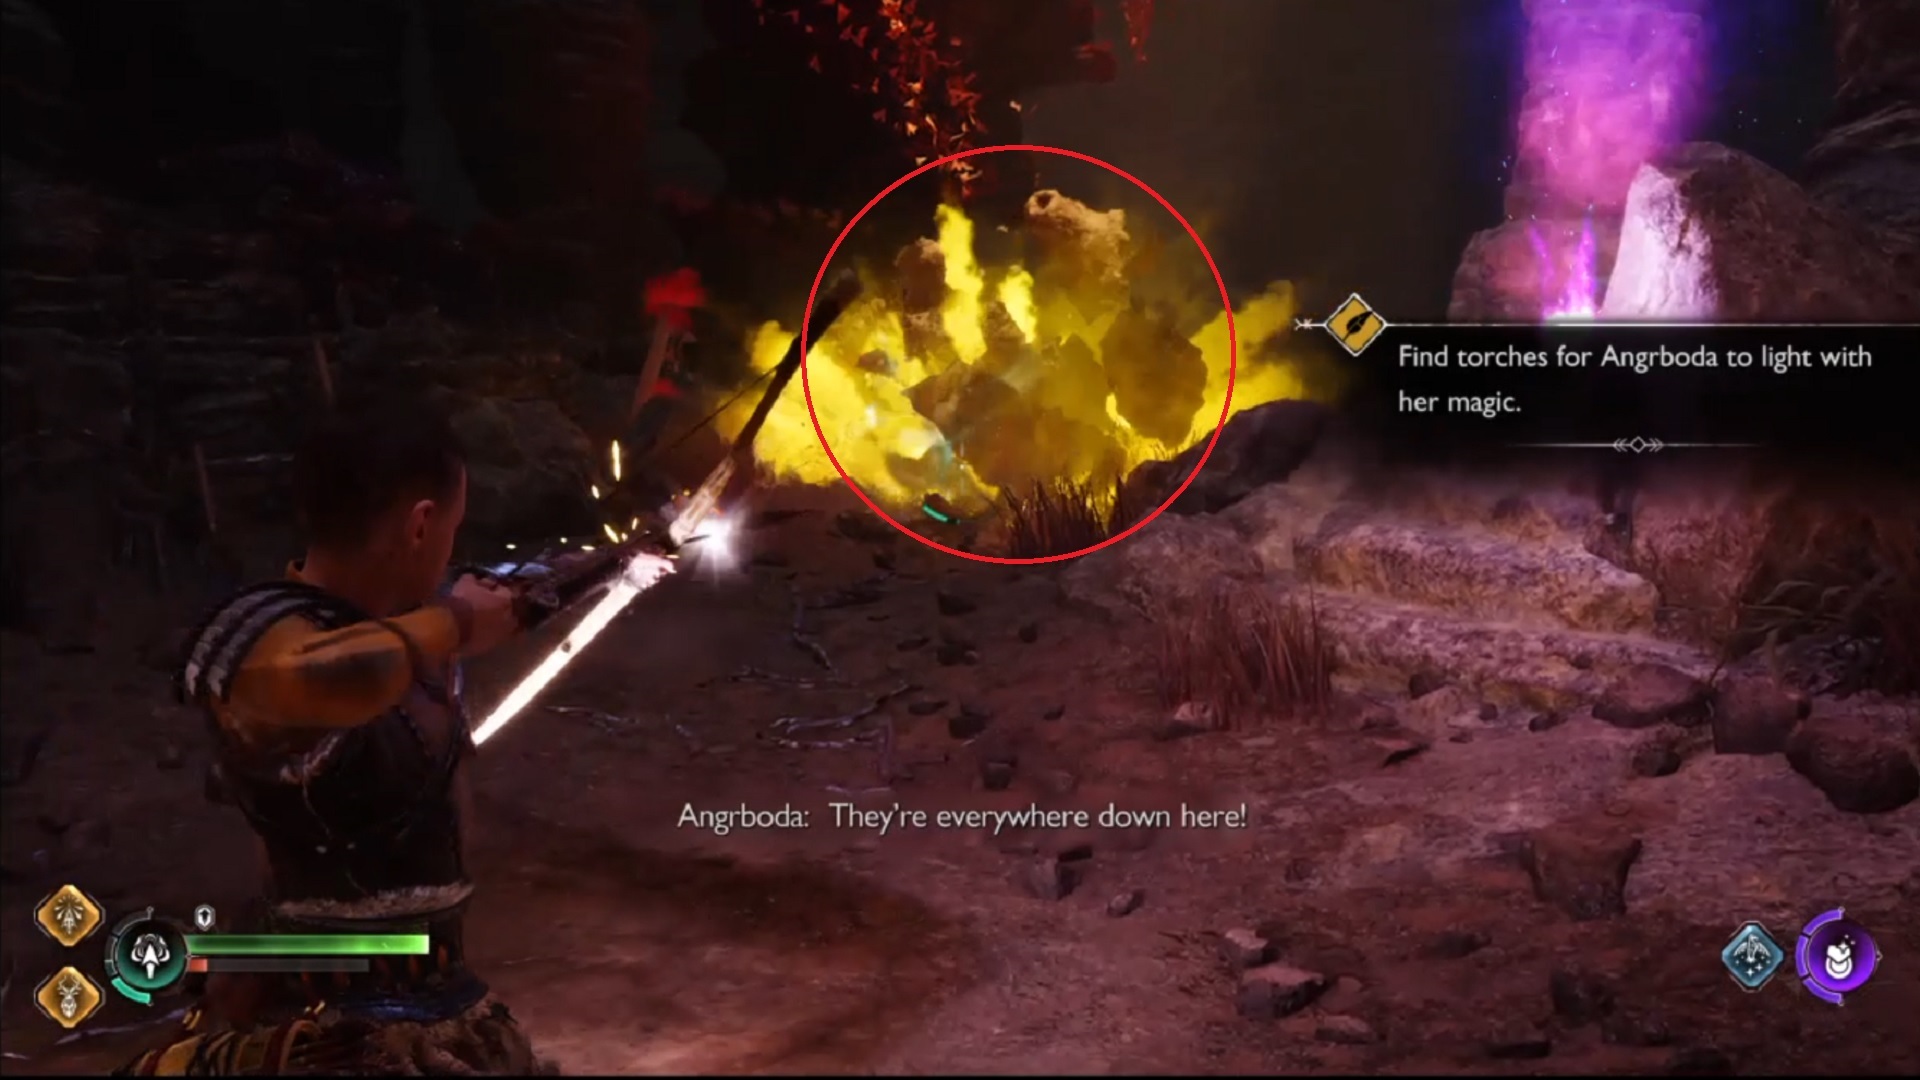
The first location is the easiest. Follow Angrboda through the small hole in the wall to go deeper into Idi’s Sinkhole.
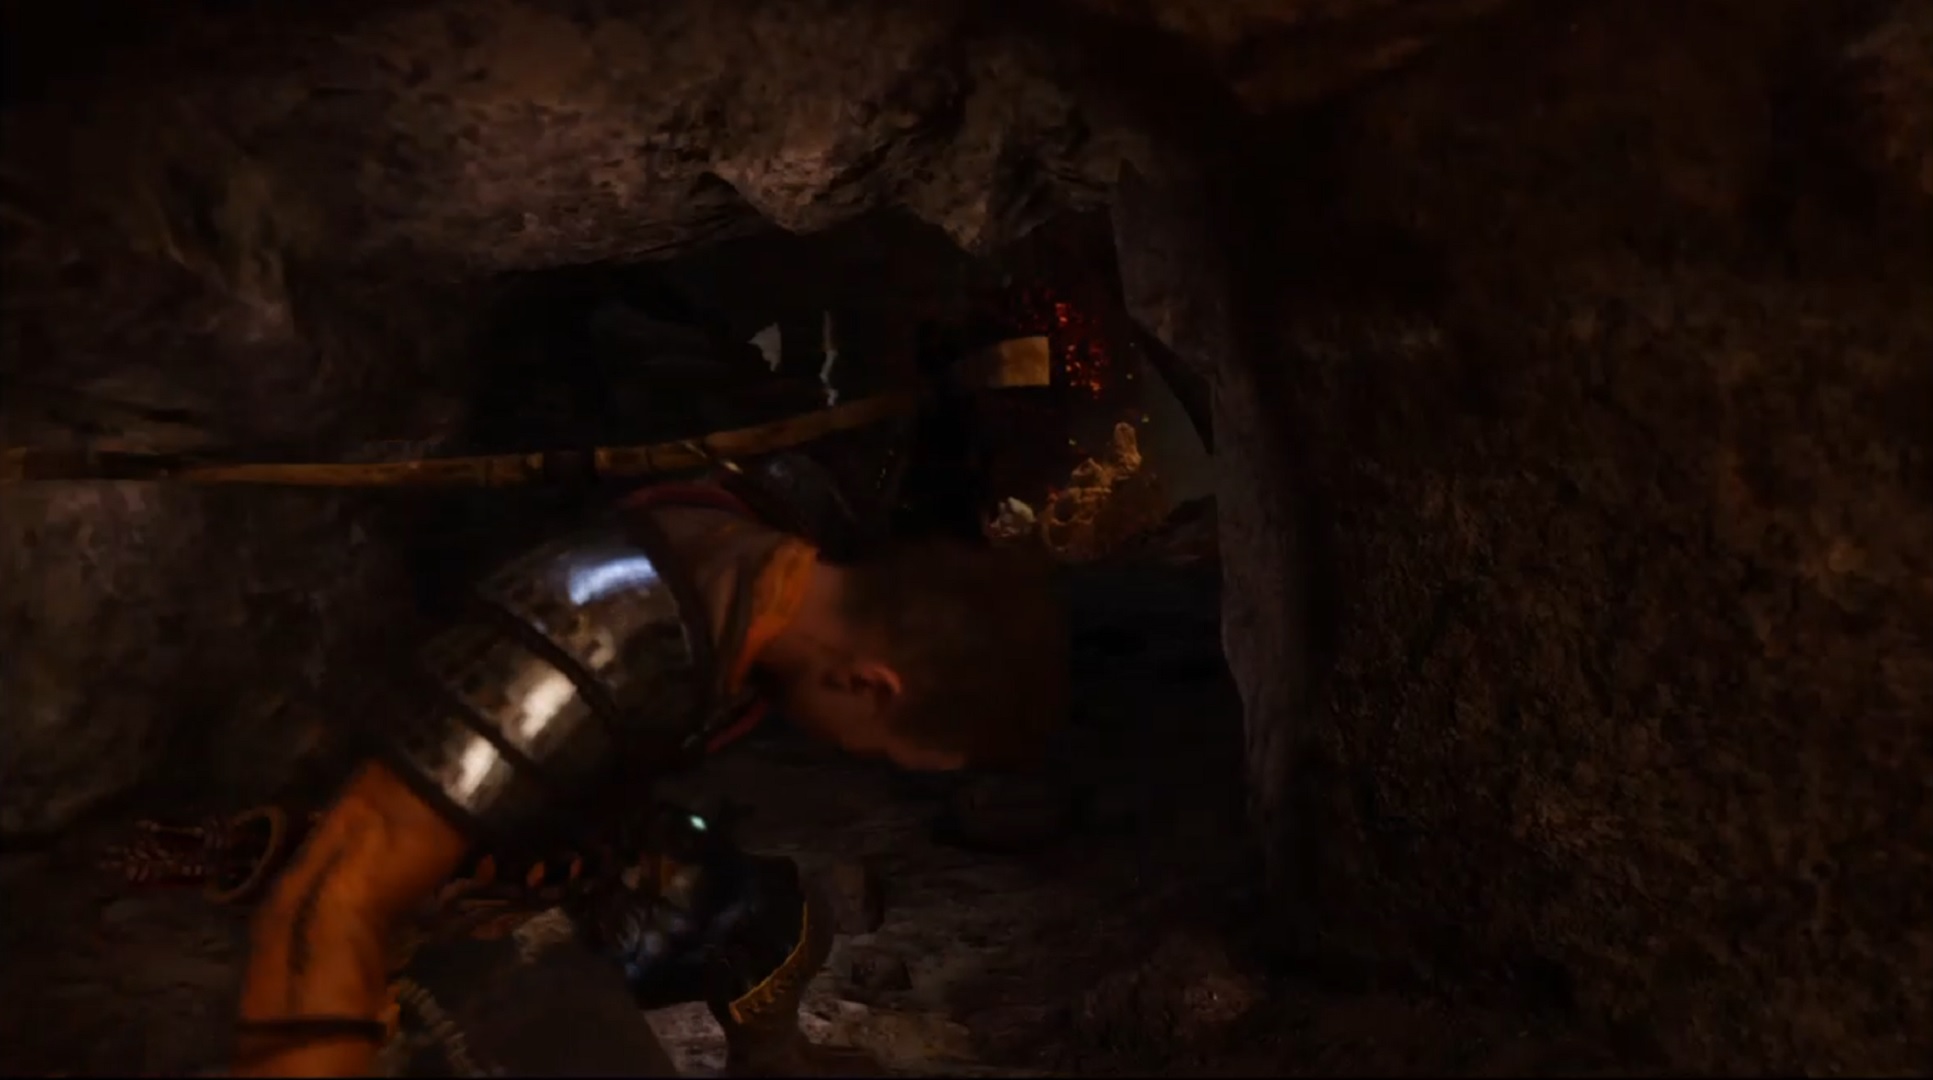
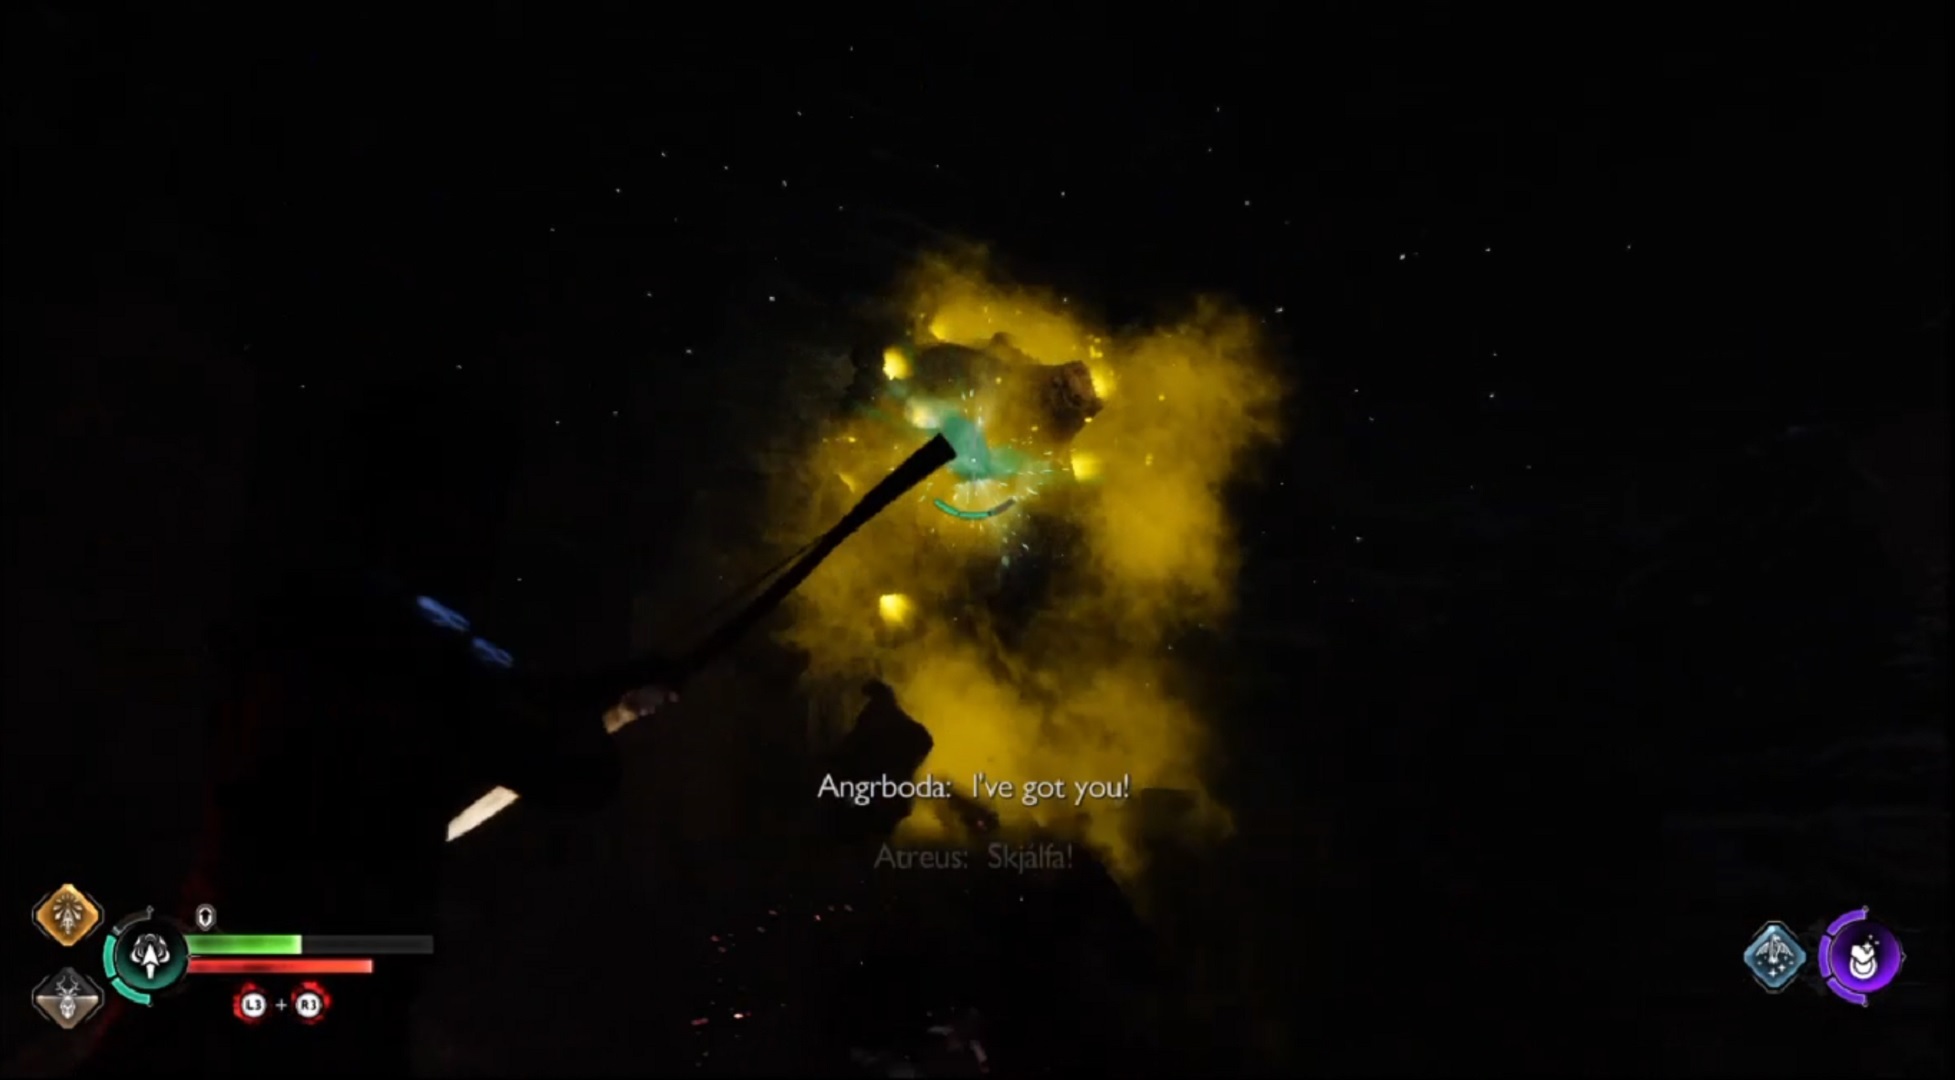
- Both Angrboda and Atreus will be standing in darkness. Wait until she points out a torch she can light up with her magic. Once the area is lit, you’ll spot the first Wretch Nest in no time
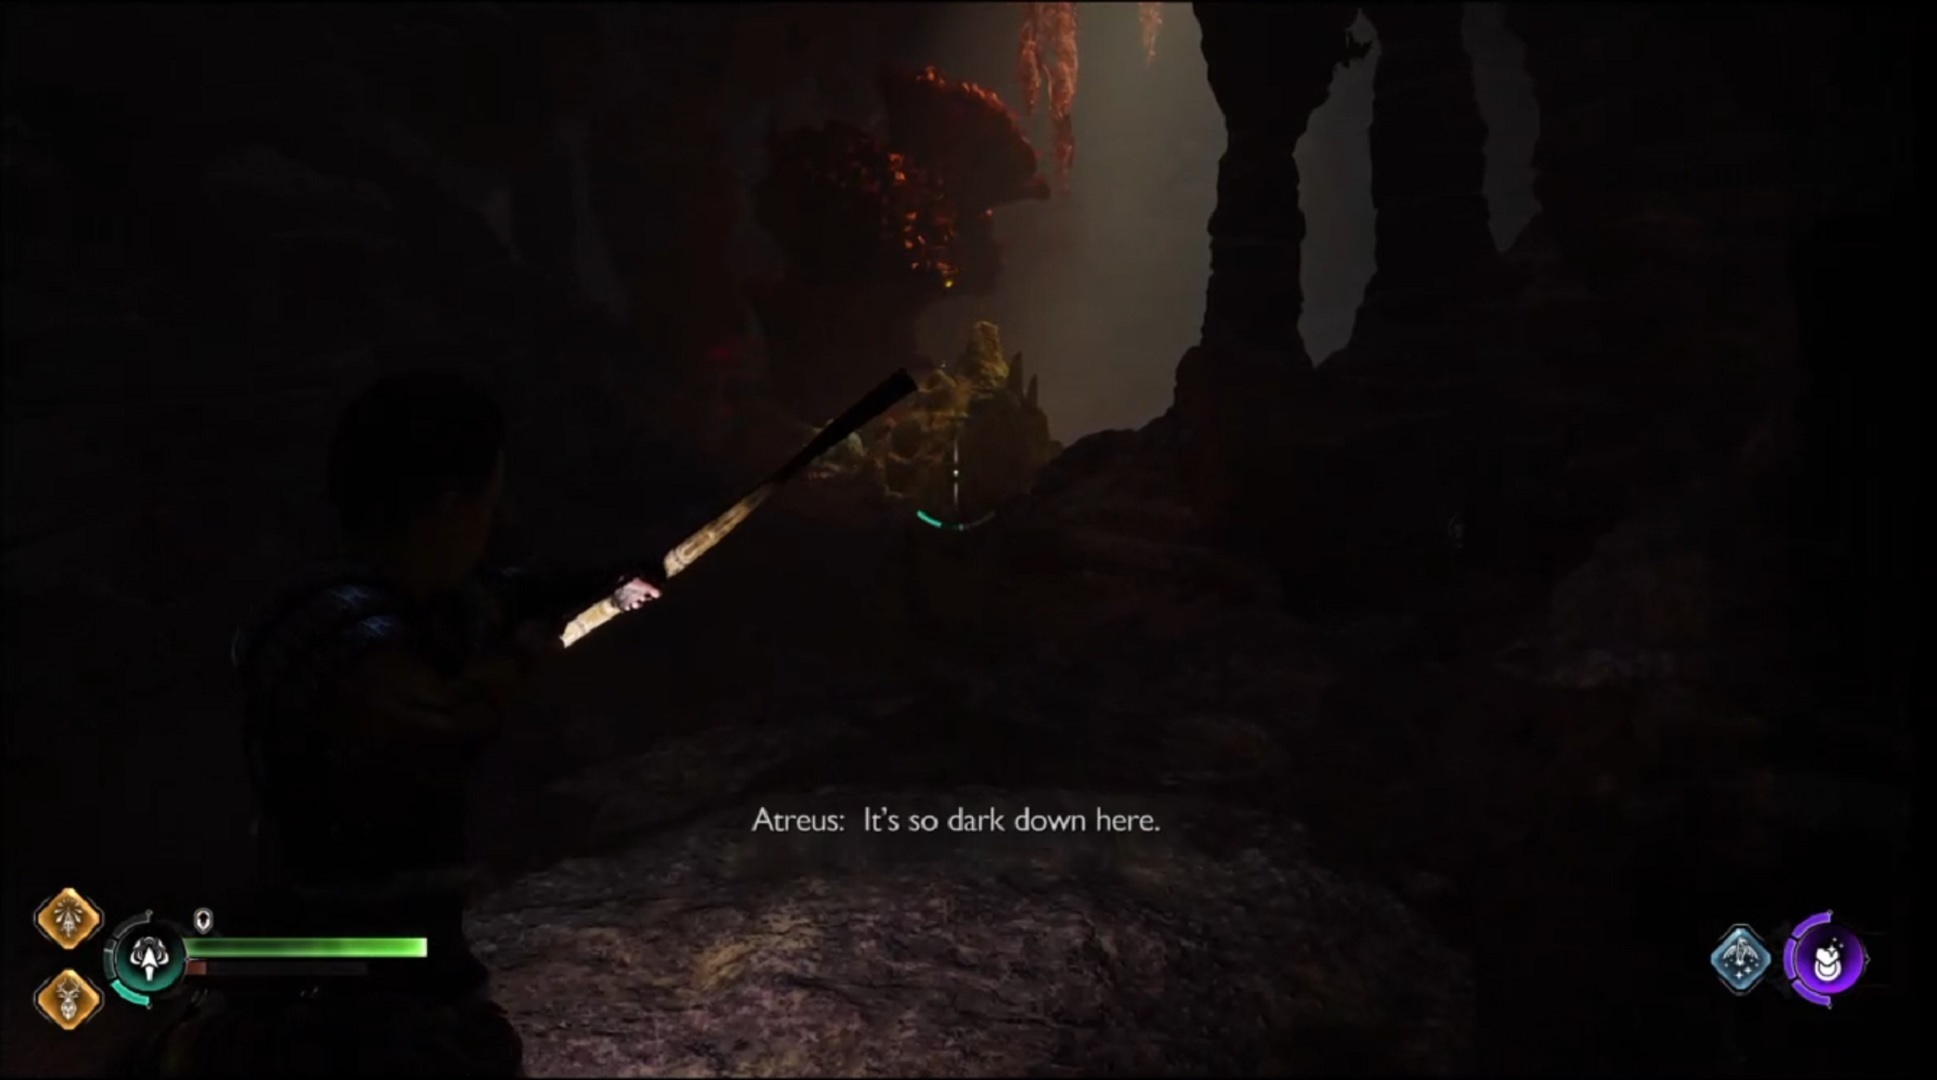
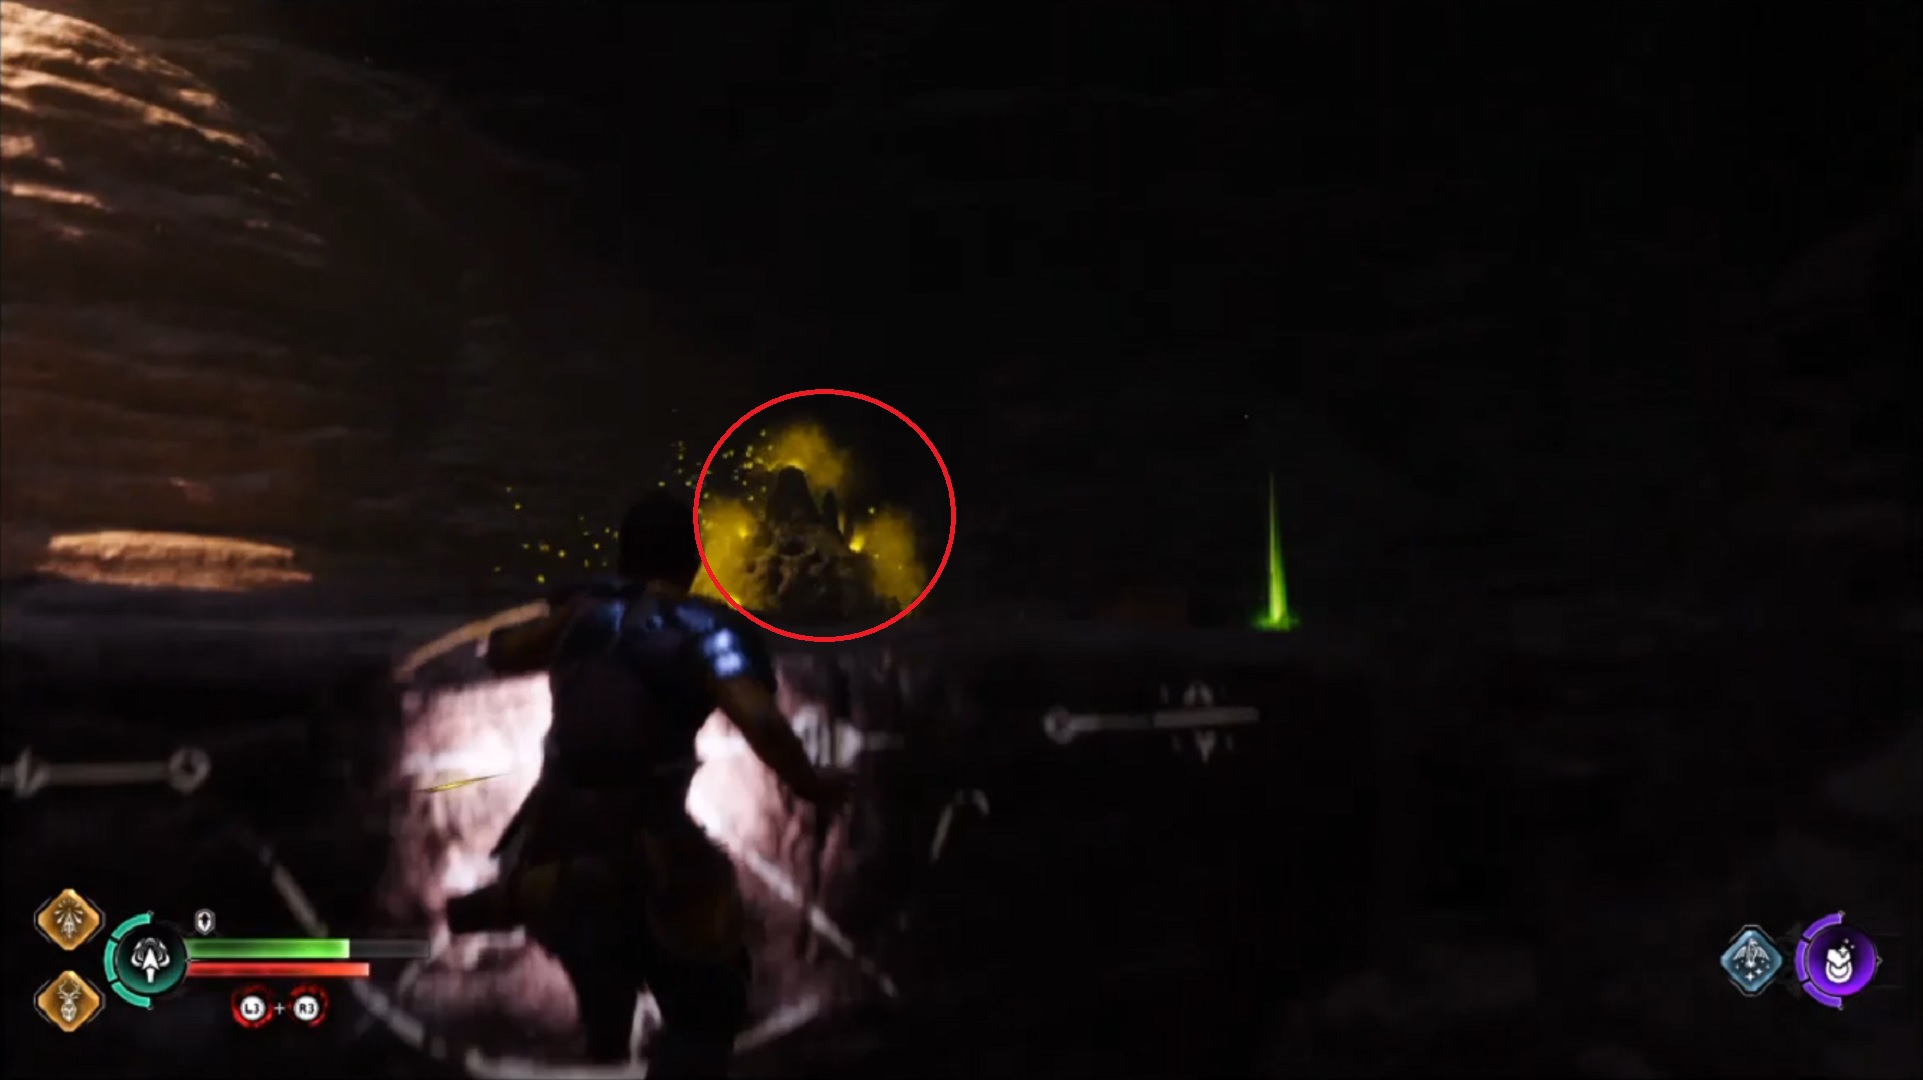
- When the holes from the Nest light up, Atreus confirms it as a Wretch Nest. These little buggers will start crawling out of the holes and attack you, so be careful!
- As we already mentioned, focus all of your hits on the Wretch Nest. Once it is destroyed, all Wretches near you will instantly die
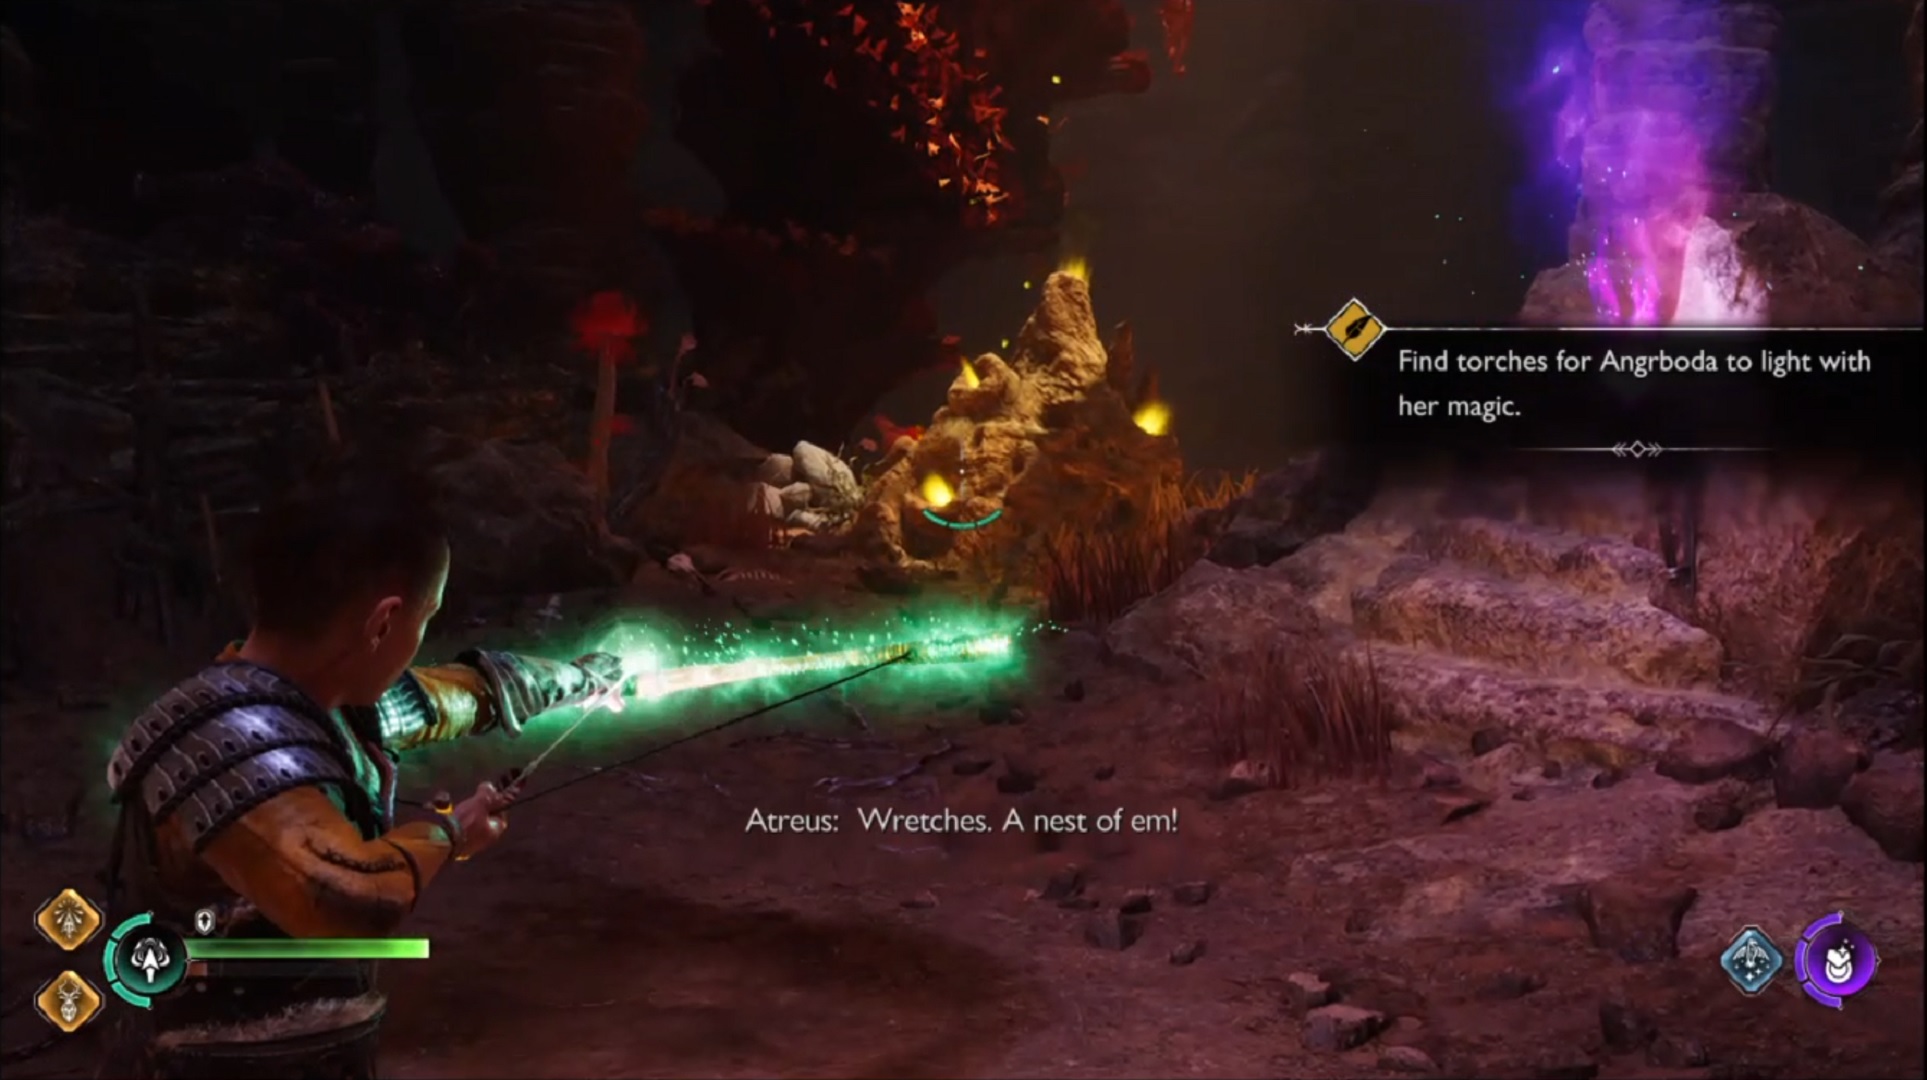
- You can use either Ranged or Melee Attacks, but we’ve found that hitting it with your bow destroys it faster than shooting arrows at it
- After destroying the first nest, Angrboda will then suggest that you help her clear out the other nests in the area. This officially starts the next part of the main quest
- Remember to command Angrboda every time you come across a torch! This will make it easier for you to make your way around Idi’s Sinkhole
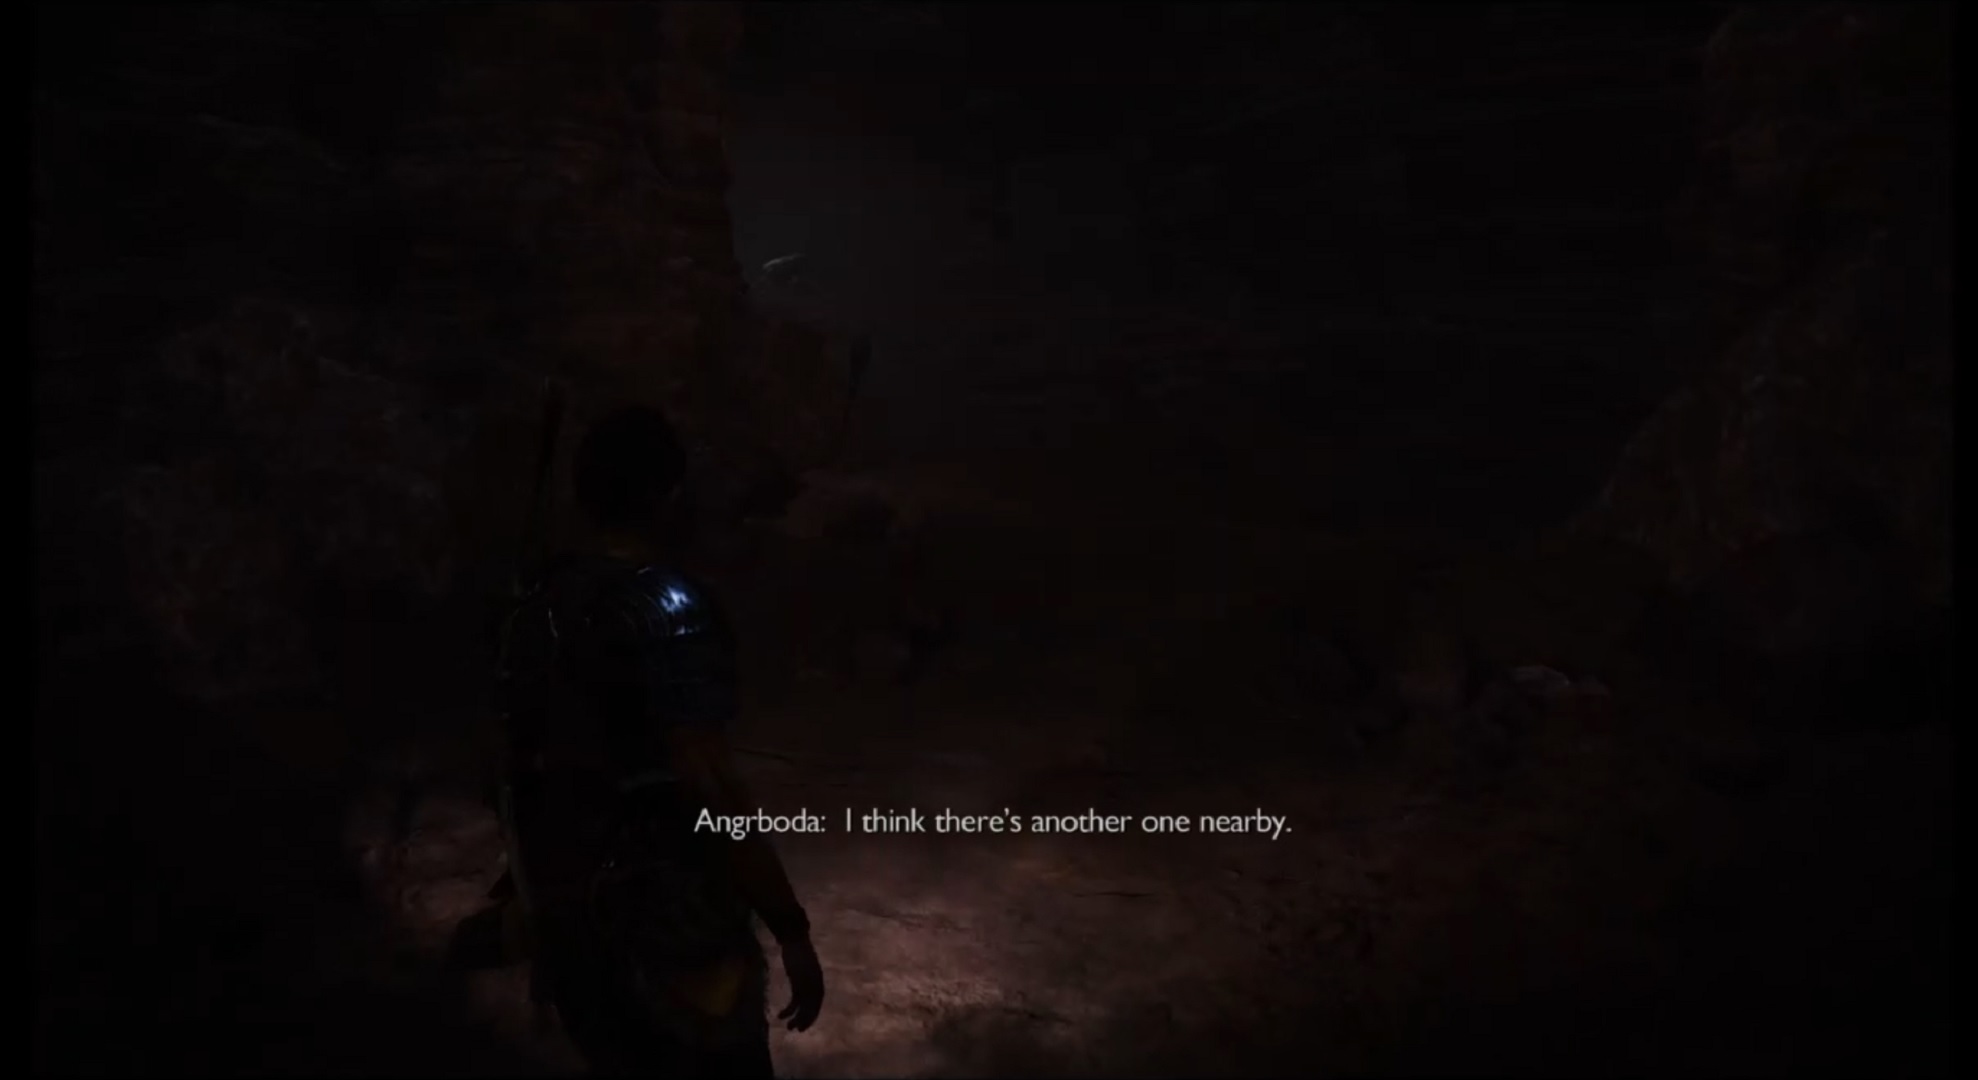
- Pay attention to the characters’ dialogues, too. They can give hints on a nearby nest if ever you’re having a hard time making your way around the dark area
Second location
After clearing the first nest, you should make your way forward to come across the second one.
- Along the way, consider this as a Hacksilver spree, there are a few laying on the ground
- Light up the torch on your right side! While you continue walking, on your left there would be a Wooden Chest, so collect the loot from there, too
- Be careful as there will be other enemies aside from the Wretches who will attack Atreus without warning
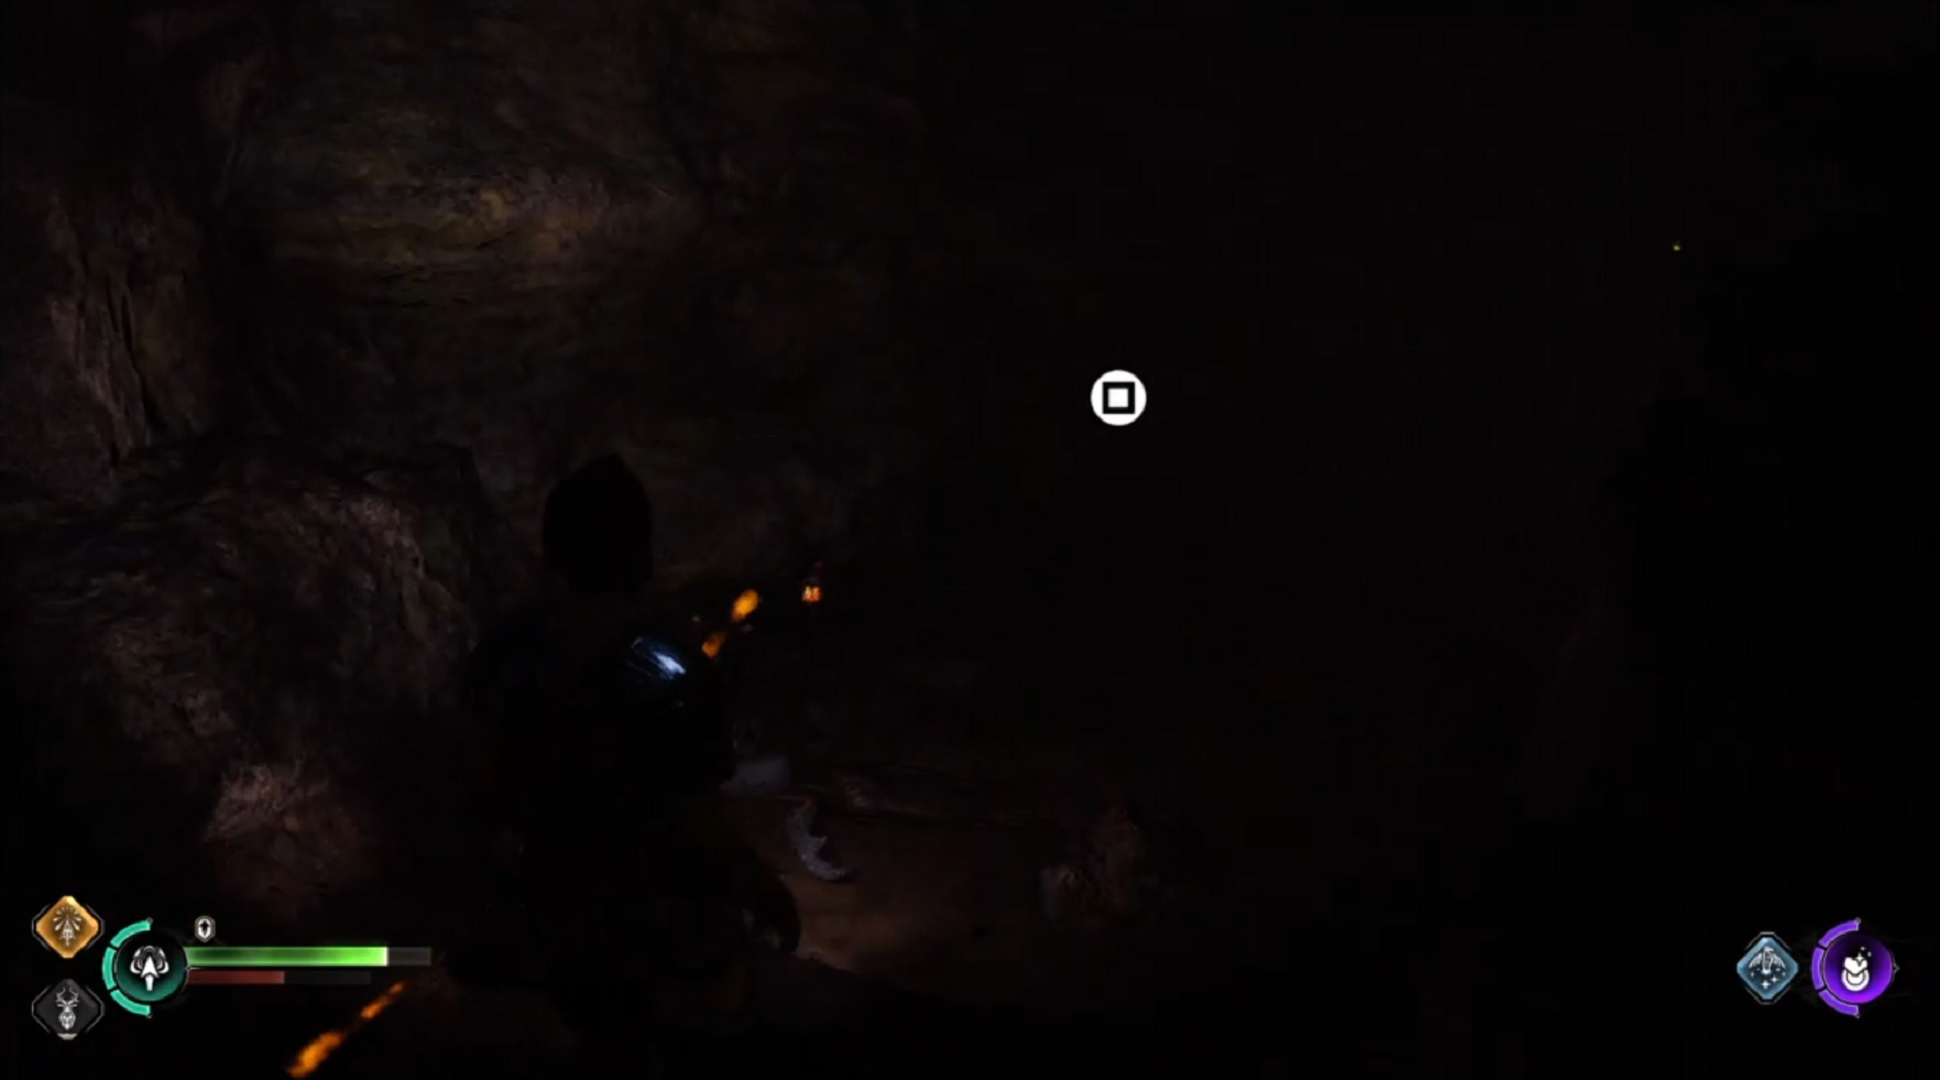
- After defeating the enemies, keep moving forward. Look out for any torch on the wall and have Angrboda light it up by pressing the square button
- Follow the path, and you may want to light a few more torches up ahead. Stay at your right side, and find Atreus fighting a few more Draugr along the way
- Make sure to open up the chest with the red glow after fighting off the enemies
- After killing the other enemies that aren’t Wretches, look up to your right where you’ll find their nest. To destroy it, you can use Atreus’ arrows and have Angrboda help you out, too
Third location
Getting lost trying to find all the nests in Idi’s Sinkhole is inevitable, especially as you try and look for the last two dens you need to destroy. After clearing out the previous Wretch Nest, retrace your steps until you and Angrboda come across another unlit torch.
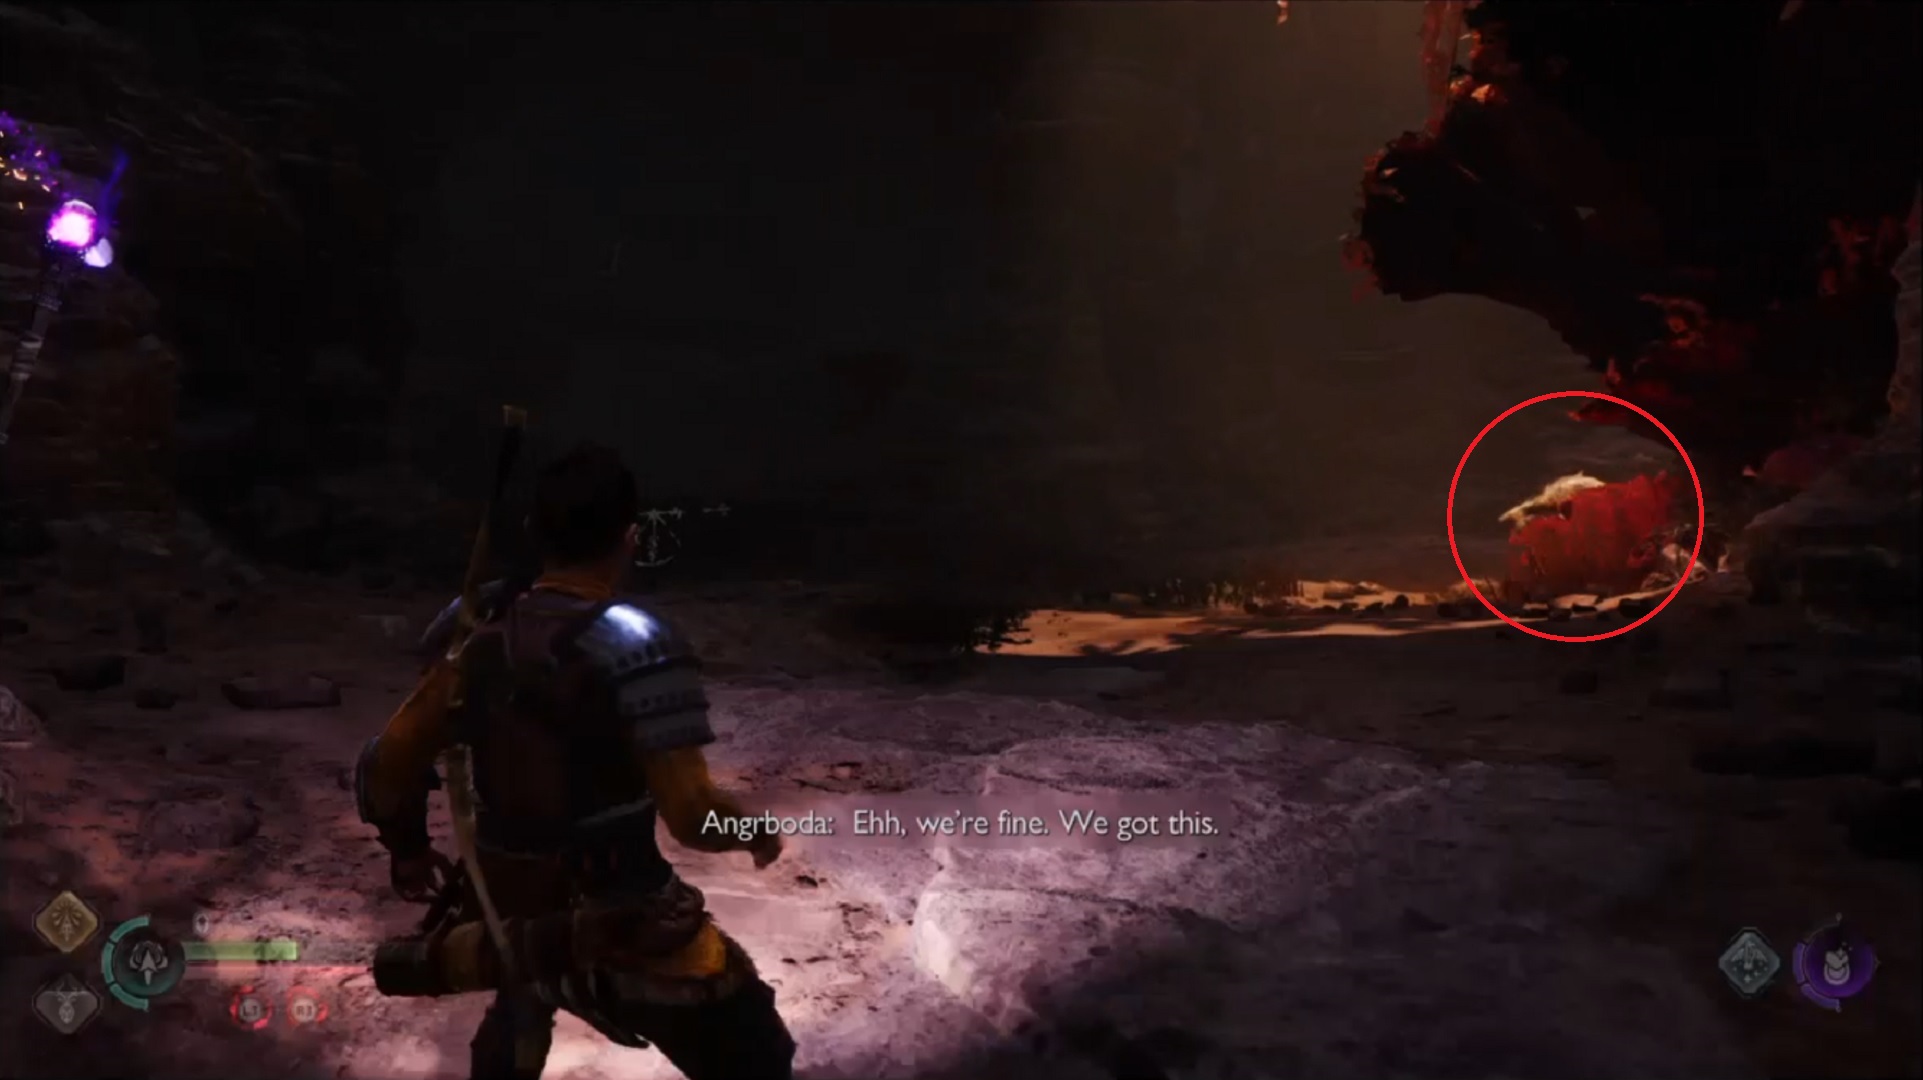
- You may want to peek at the enemy on your right. Beware of the dangerous saliva it spits though! Battle your way against it, Atreus’ Sonic Arrows would do the work!
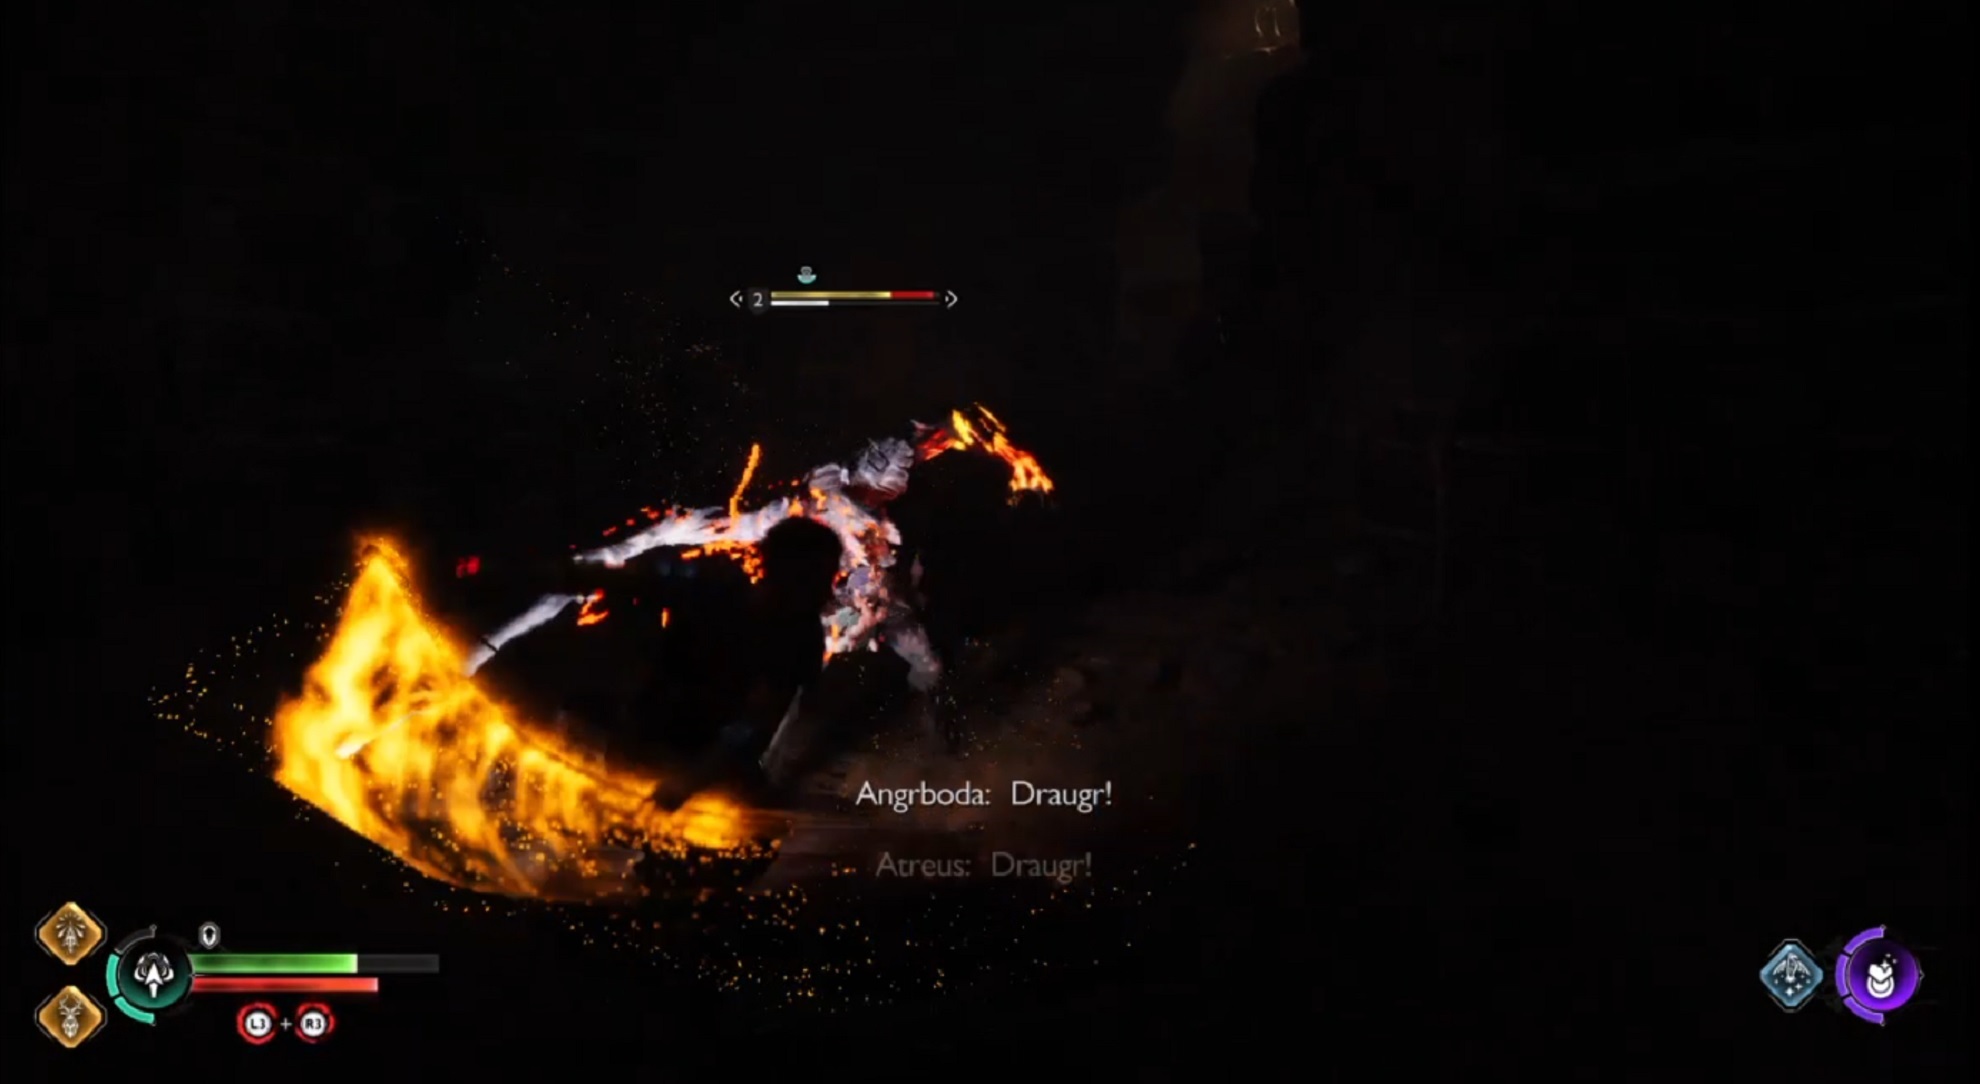
- So basically, you would probably end up fighting off Draugr before you reach the third location. After clearing the area from the enemies, go to your right and try to find your way in the dark. Surely there’s going to be a torch nearby, right?
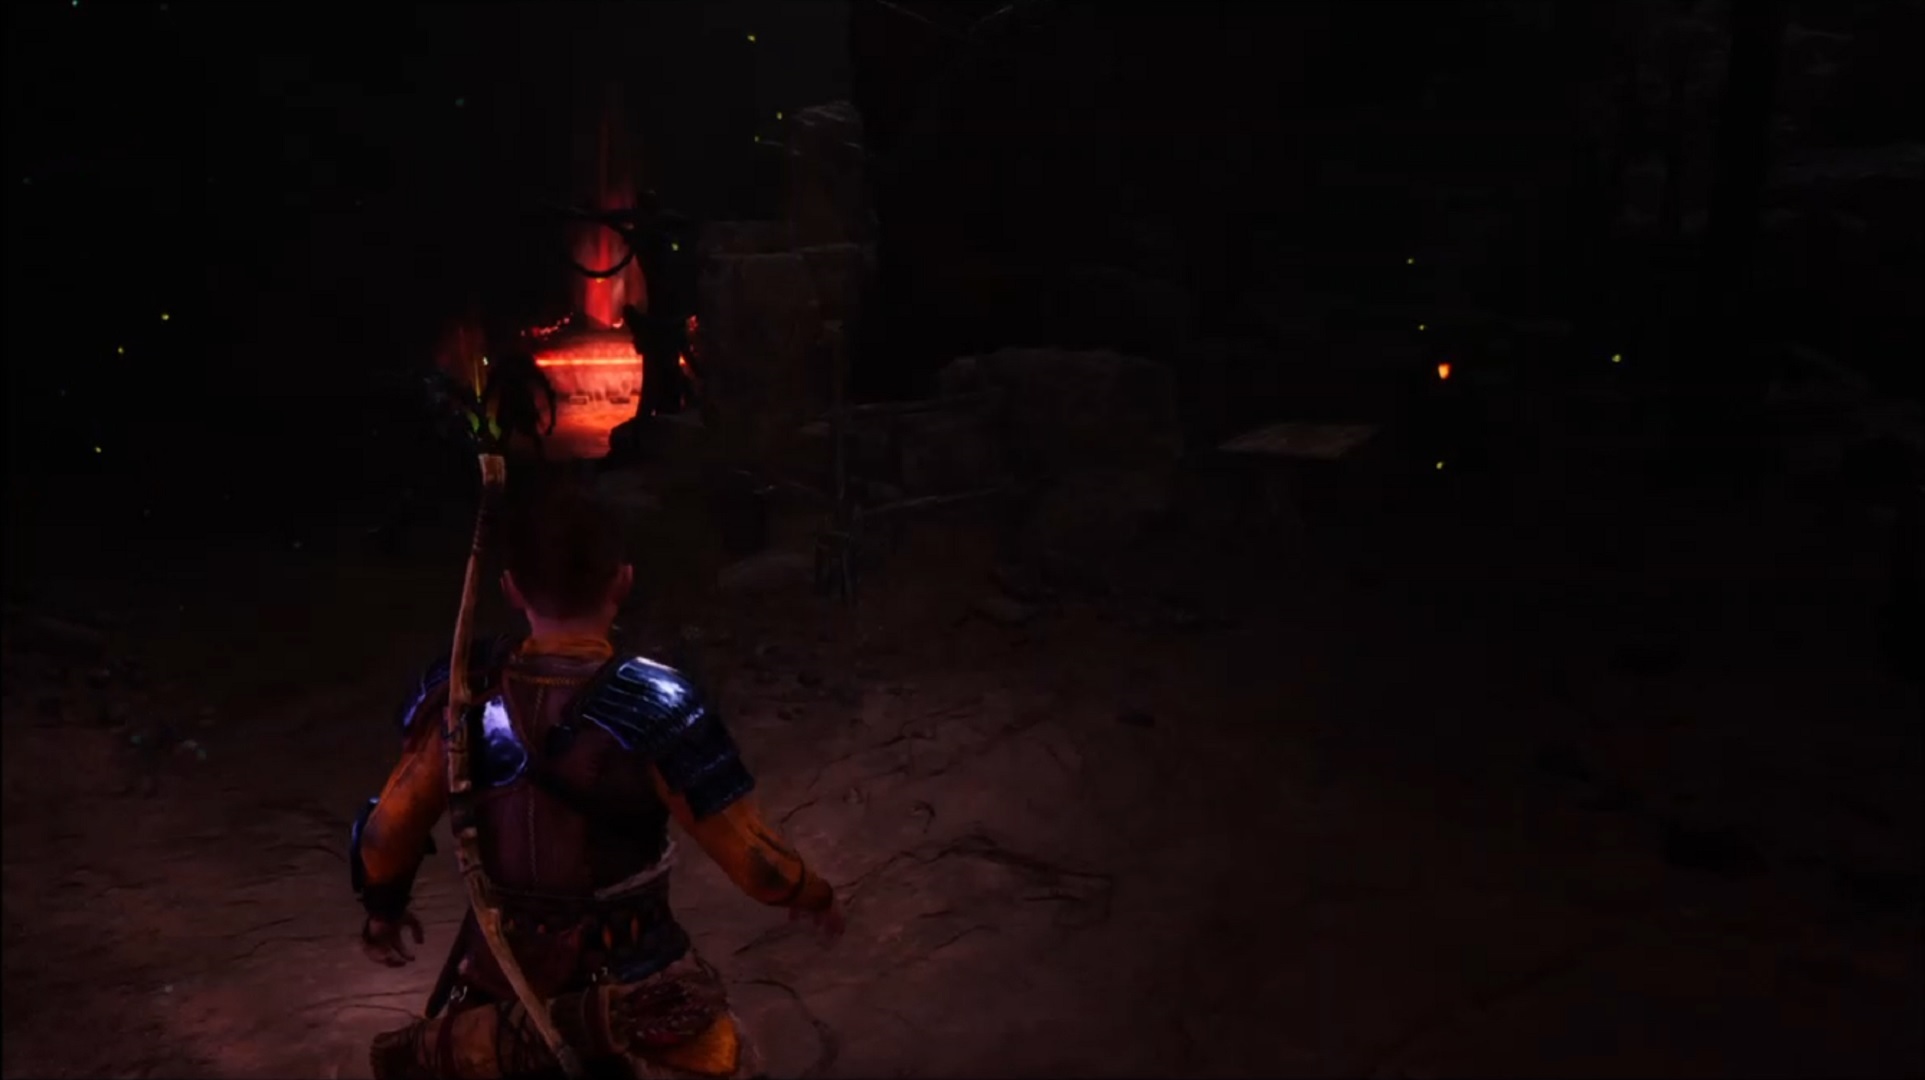
- Of course there is! Keep moving forward until you find the torch you can light. However, be careful because as soon as Angrboda lights up this torch, creatures start coming out of the hole. Be on the lookout for a Draugr that may try and attack you from behind!
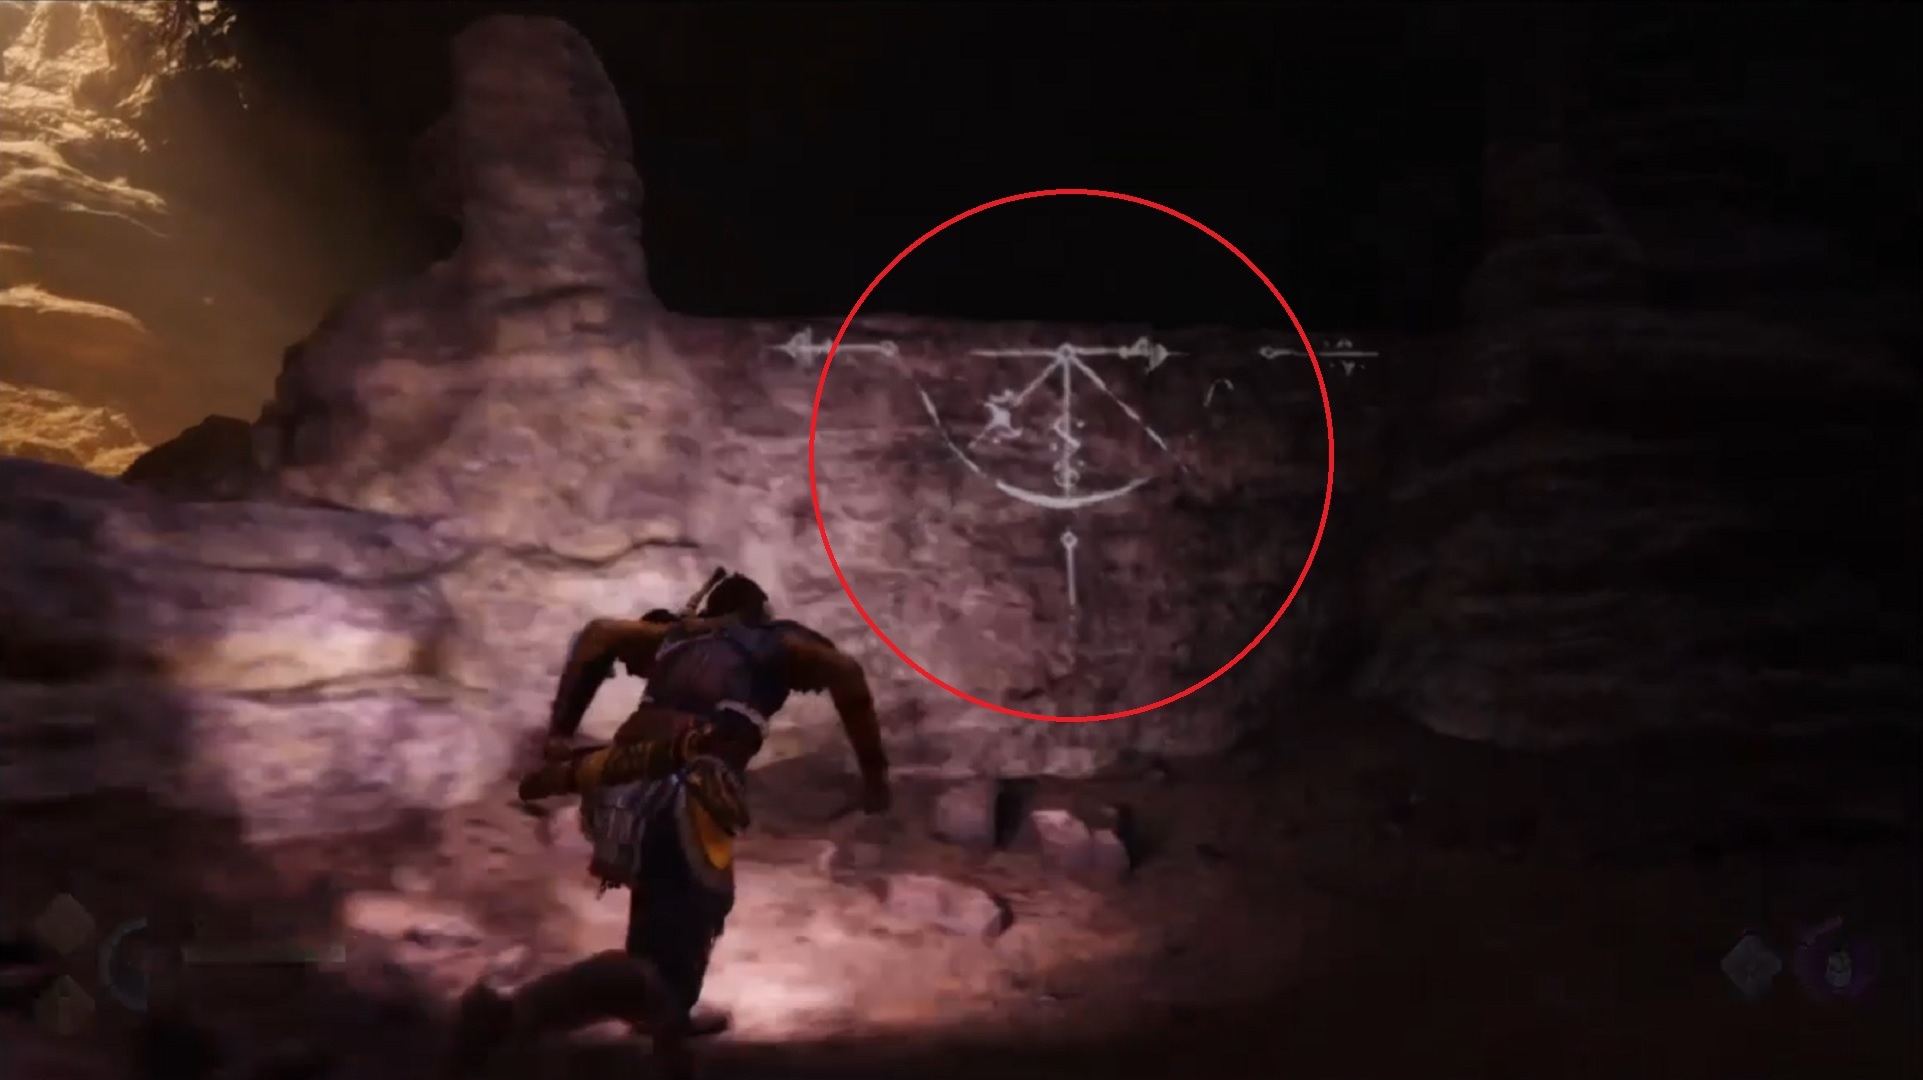
- Look for the ledges you can climb. These ledges are marked with the symbols encircled in the image above
- Make sure to pay attention to what the characters are saying to know if there is another nest nearby
- Once you get near the nest, Angrboda hints that some nests are located on higher paths, so look up if you can! A few Wretches appear when you reach the place where you can see a Wooden Chest. When you reach the chest, go to your left, and climb the ledges to get to the Nest.
- If you successfully destroy the Wretch Nest, congratulations! Atreus and Angrboda only need one more Nest to complete this quest in God of War: Ragnarok.
Fourth location
You’ll easily find the last location after the third. The symbols and torches are quite useful to know the whereabouts of the last Nest.
- You may want to find a bridge-like path, and continue walking there. Do note that there are about two vases with Hacksilver before you step into the bridge, so gather those! From there, you’ll hear Atreus and Angrboda conversing about going to Midgard.
- Light up the torches to help you have a clearer view of the way. You’ll have to jump on your way to the next ledge, and just continue walking. Angrboda would hint another nest is near, so keep moving forward. A few Wretches would be up ahead so watch out for them!
- Continue exploring the area until you find an area to go down, open the Legendary Chest, and then go back up. You’d have another enemy to fight when you get back though, so defeat it with Angrboda. She also hints about feeling a Wretches’ Nest nearby, so let’s go.
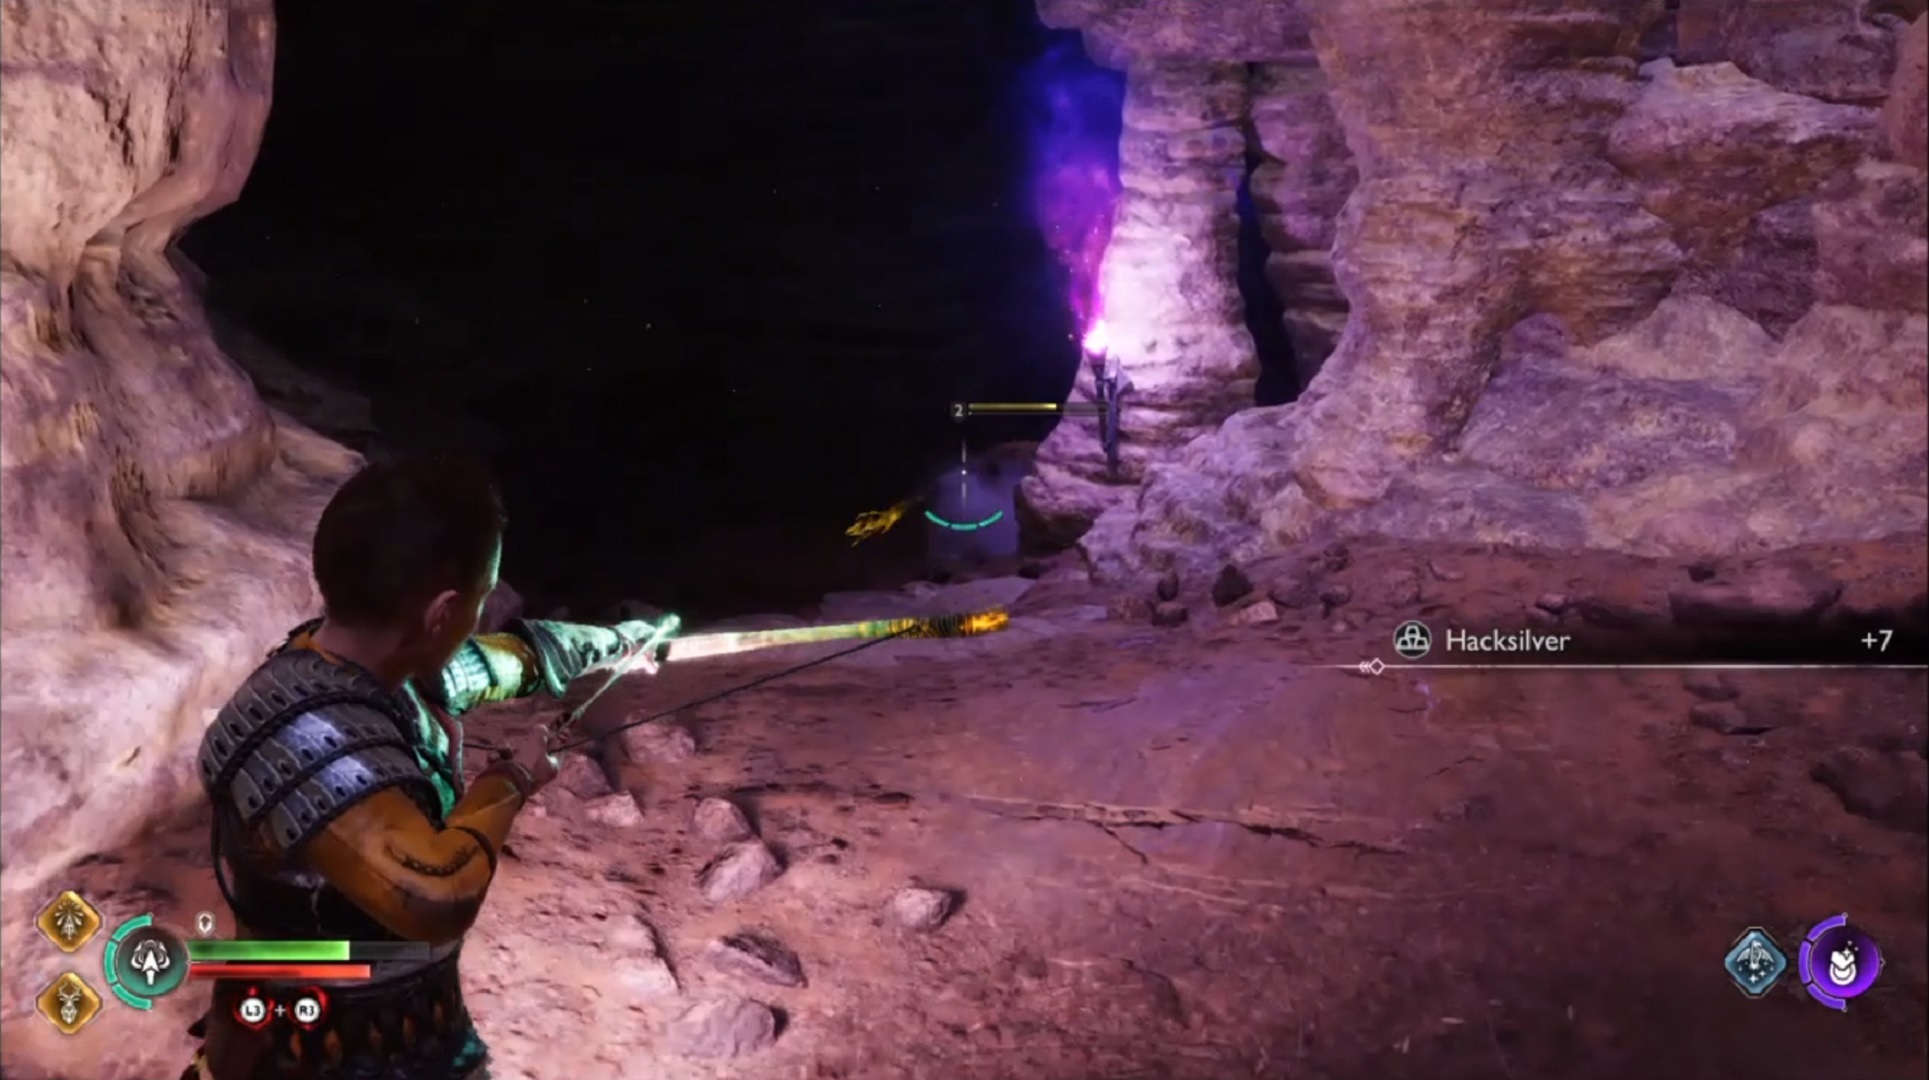
- Light up any torch you see since you’ll have a hard time getting around without any source of light.

- Look for the hole in the wall after defeating a Heavy Draugr. Here, you can shoot a soundstone barrier which will let you get to the final Wretch Nest
- After destroying the last Wretch Nest, follow Angrboda back to the entrance of Idi’s Sinkhole. Be prepared for a mini-boss fight as soon as you go back to where you first arrived!
Did you destroy them all, warriors?
RELATED NEWS: God of War: Ragnarok – How to defeat Gryla
You can also share any questions you have about God of War: Ragnarok below. Until then, stay with us here at Spiel Times for more content.
Make sure you share, subscribe to our push notifications, and never miss an update from the world of video games, cinema, and sports. You can also follow us on Twitter @spieltimes for the latest PS5 restock and drop. Stay Safe and Happy Gaming!